
When we moved into our house our old table was far too small and even with another donated table pushed against our round table it still didn’t fill the room.
After many years the time had now come to replace this but trying to buy a table in this size would have been 0000’s of pounds. So the only was forward was to build one!
After a measure of the room and some research, it was decided to make a metal frame and wood top, I was going to use a MDF wood top but then found a site selling 22mm sold oak kitchen worktops in a 635x4000mm size, so with 2x off these ordered with a plan to some how join them together.
With the top found and knowing what size we were looking at, next was onto the frame. Looking at some metal sites, what became apparent was when you go up in size so does the thickness. The table could be heavy but needed to move able and also the price of the metal is based on weight so thick legs also means more cost.
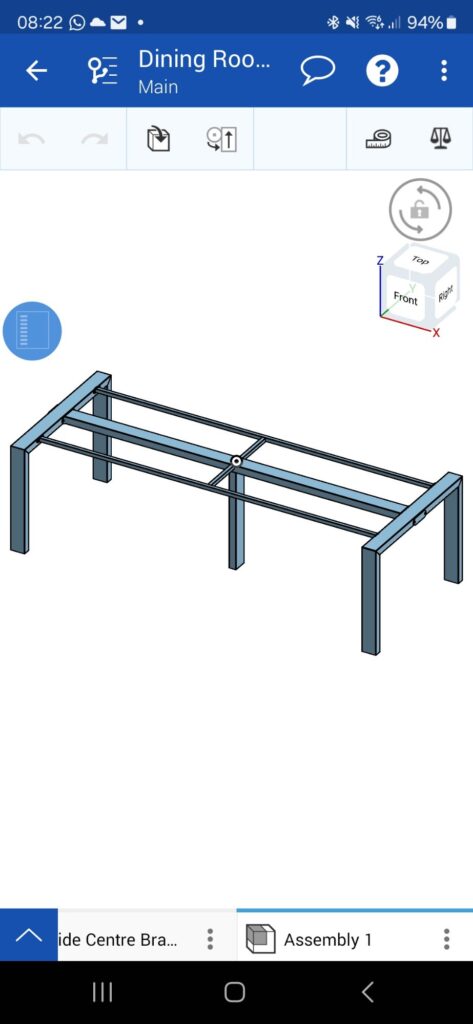
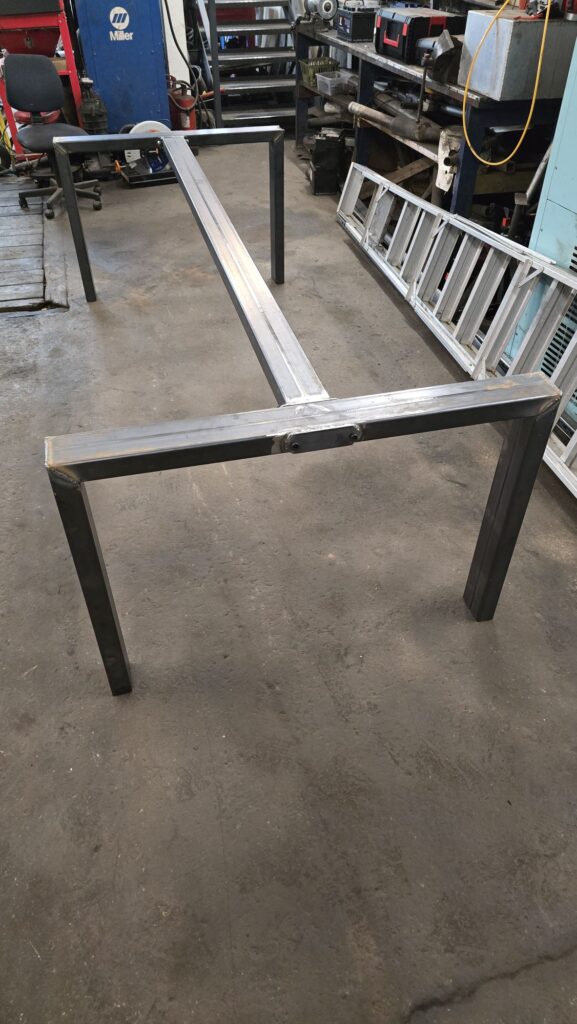
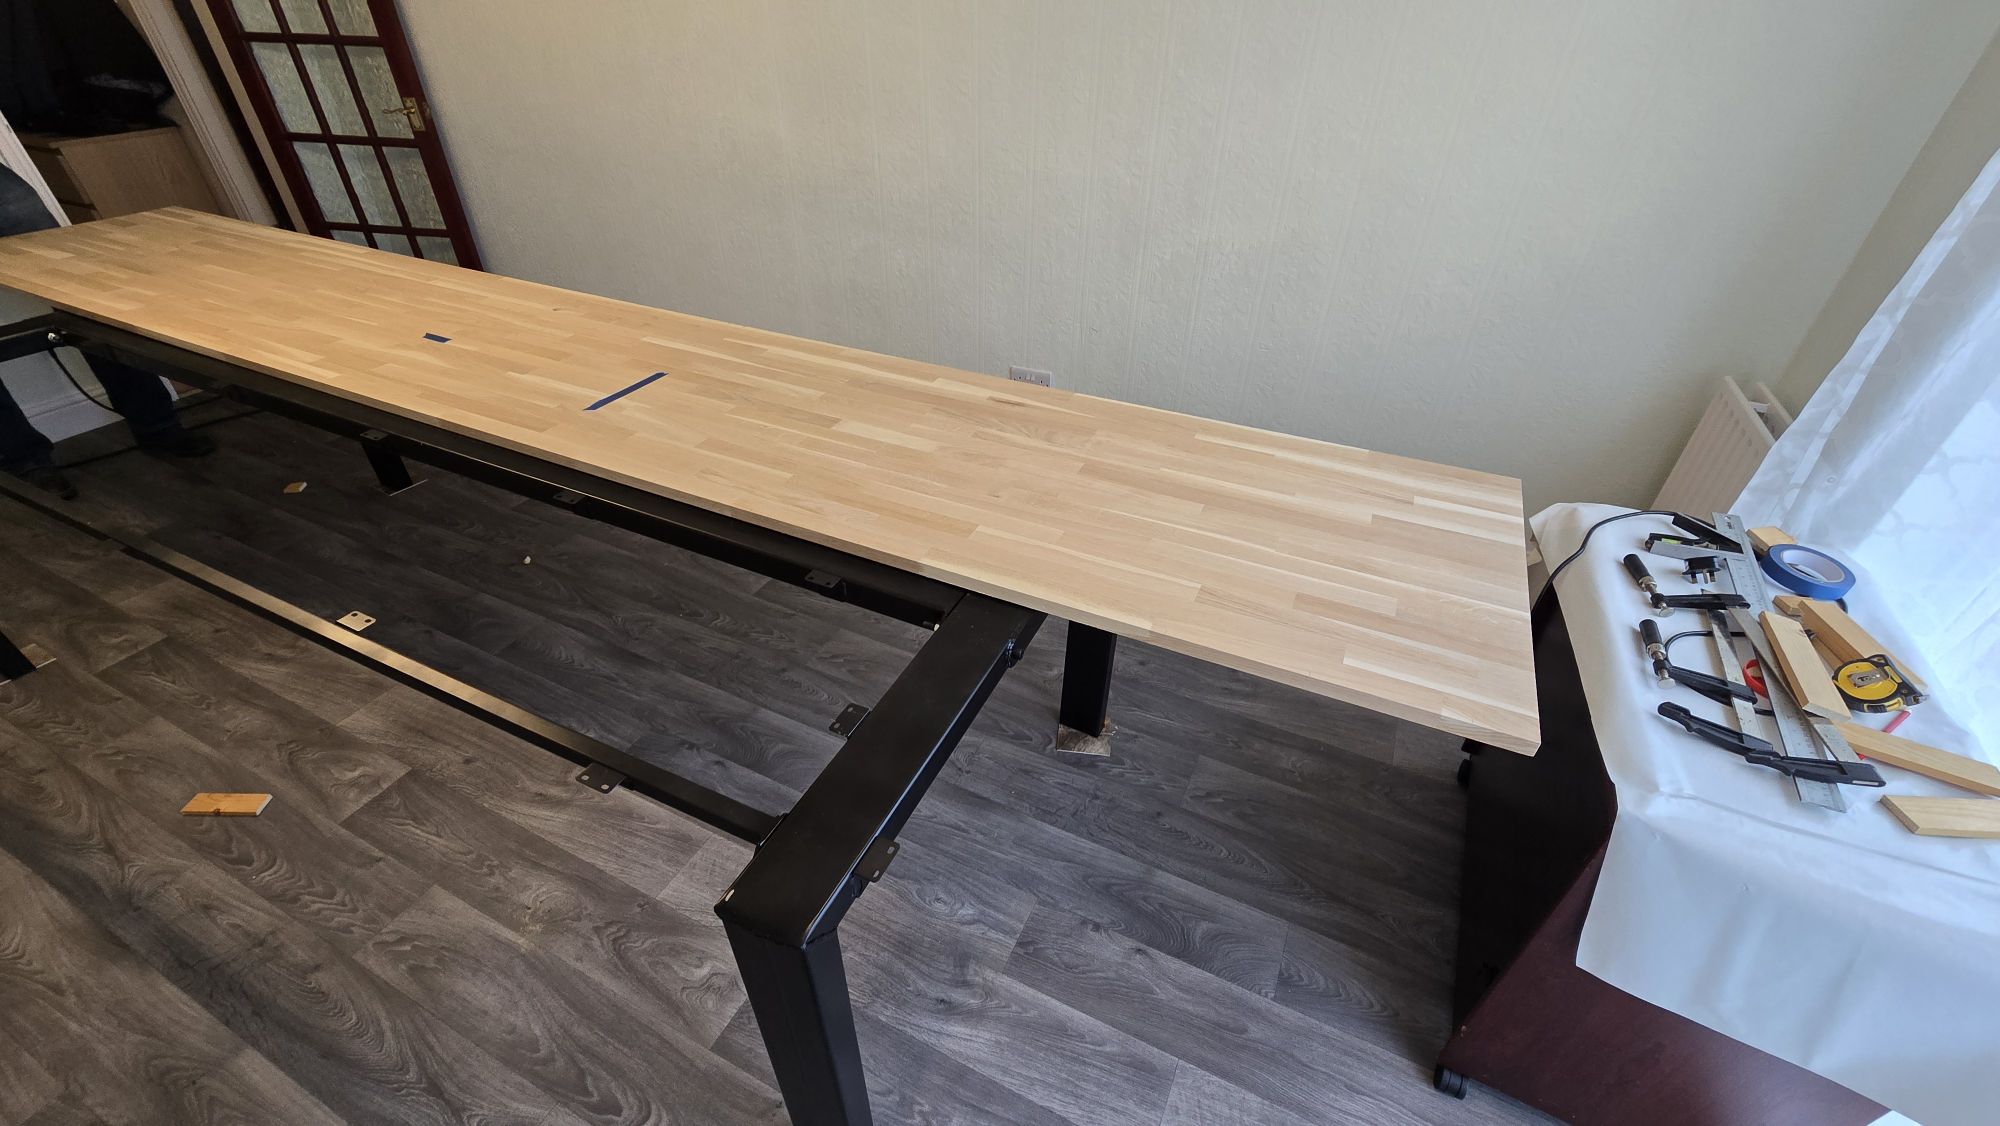
Now onto the design, knowing there was going to be a seam down the middle of the table i wanted both side supported to take the load off the joint, I went for a simple upside U at each end, main beam that runs down the middle and then 2x smaller side rails the rails and ends all bolt to each other, quick design on CAD and we were all set.
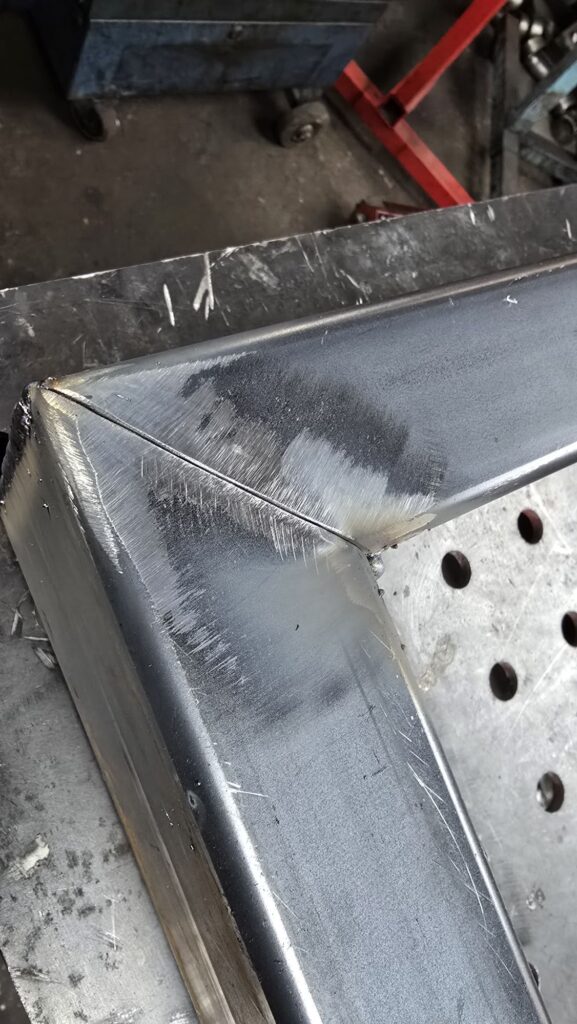
After printing out a parts list so I could cut all the parts to the correct length, the legs each end I went for a 45deg mitre joints, I could have just done a butt joint but if anyone look under the table I would like it to look nice, I also added some mounting points for wood top.
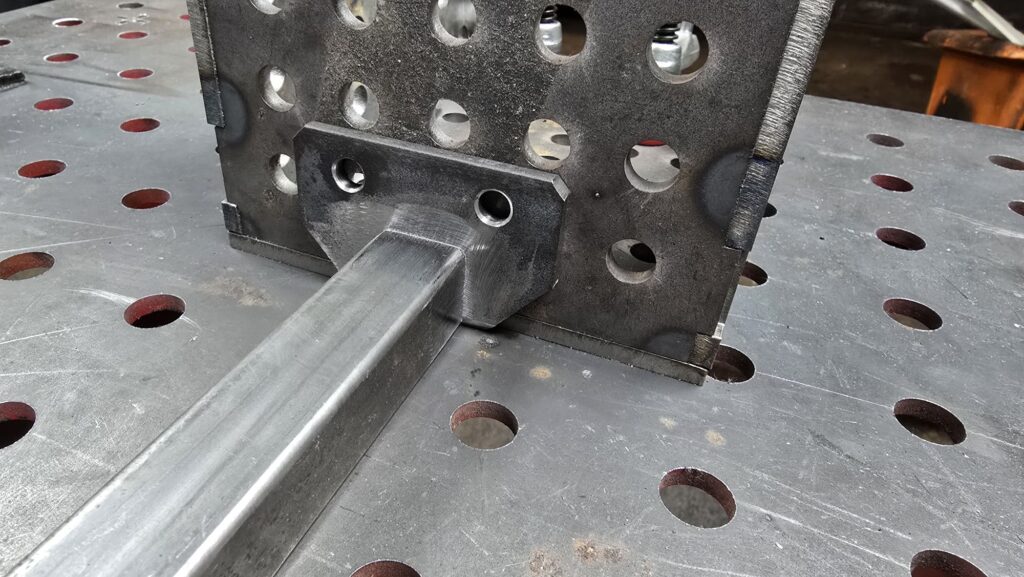
Out off some 5mm metal plate I cut some bolt together flanges and these got welded to the end and load spreader on the other side. With everything cut and made it was now time to start welding everything up
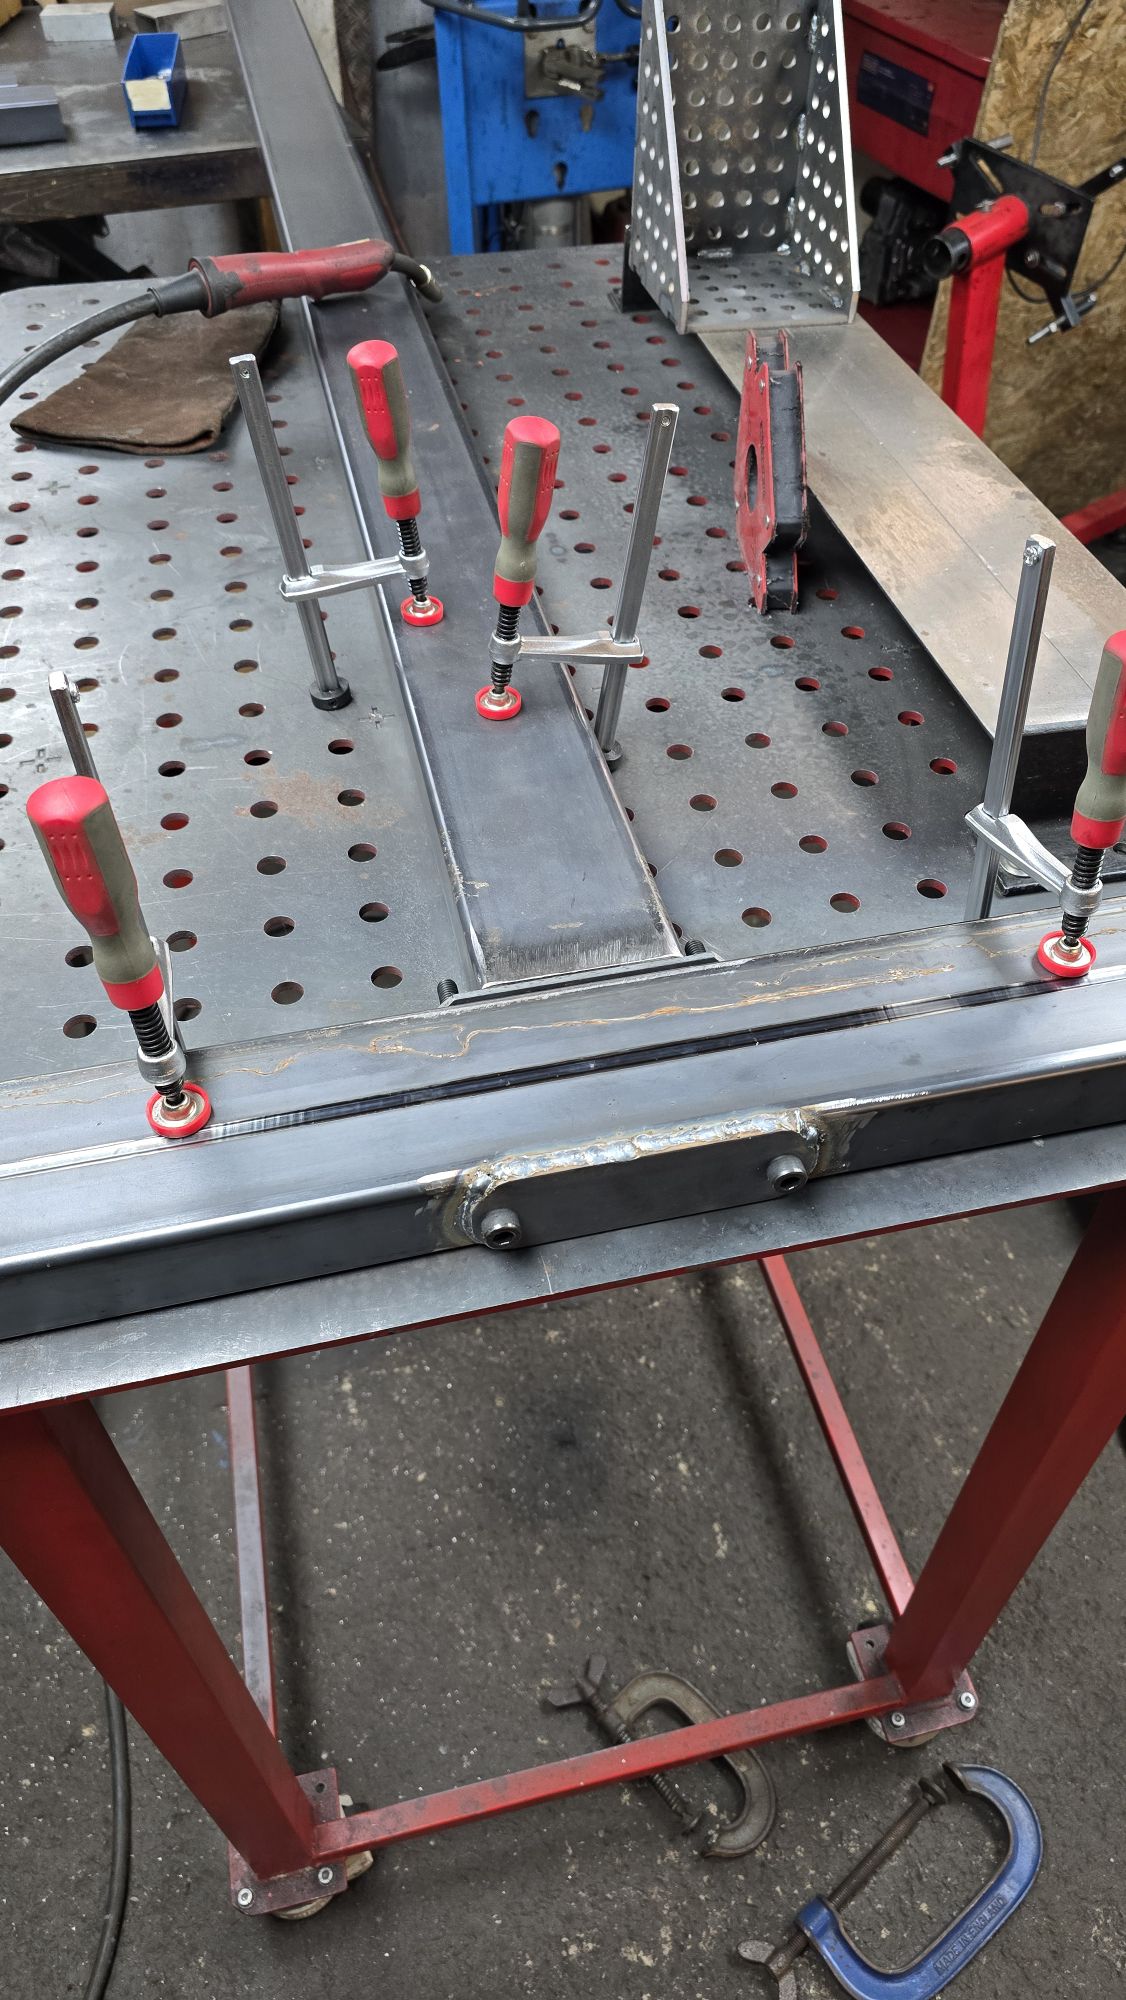
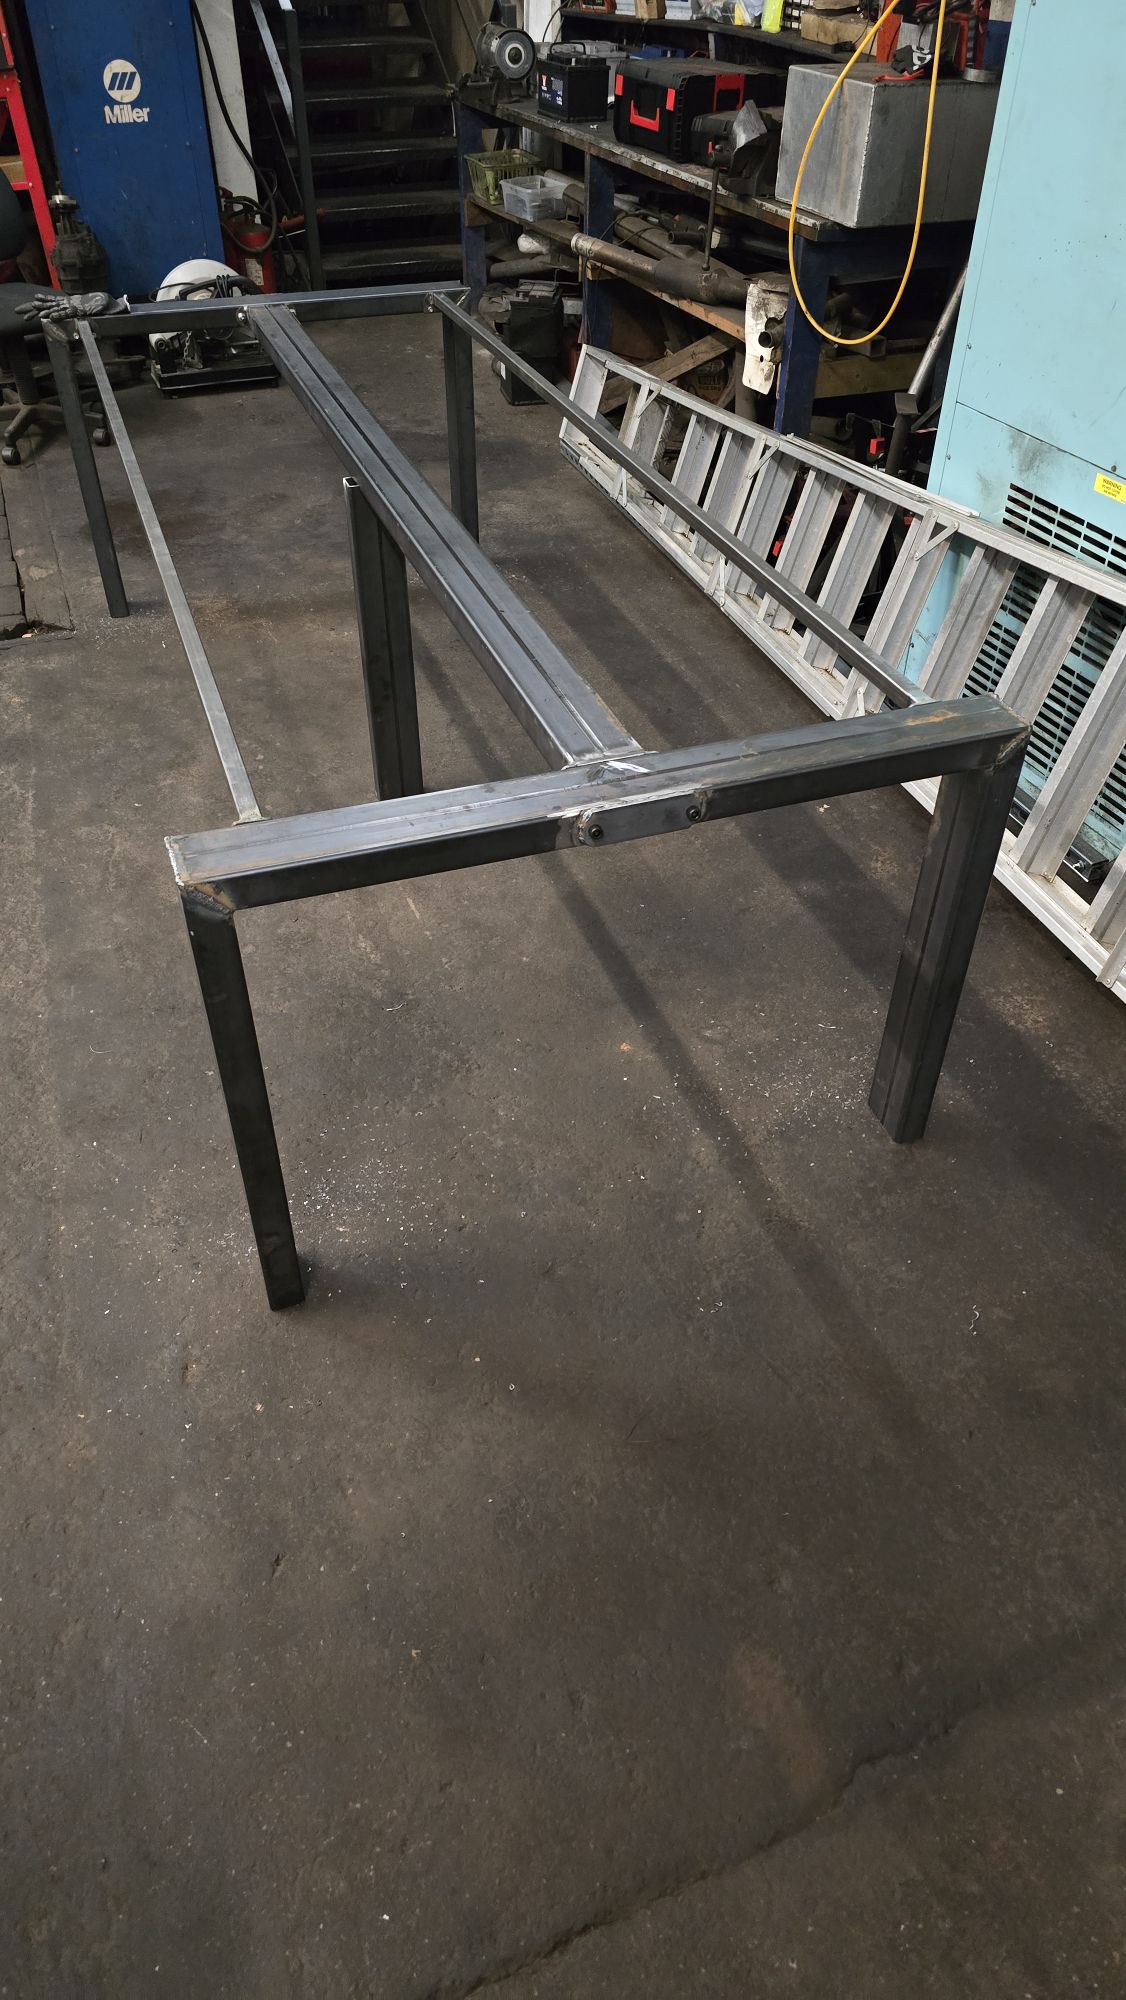
Once everything was welded, it was time for a test build and load test, with the main frame holding my weight. This was classed as a pass. Now it was time to clean the welds and any sharp edges once cleaned up it was all stripped apart again and taken to my house for painting.
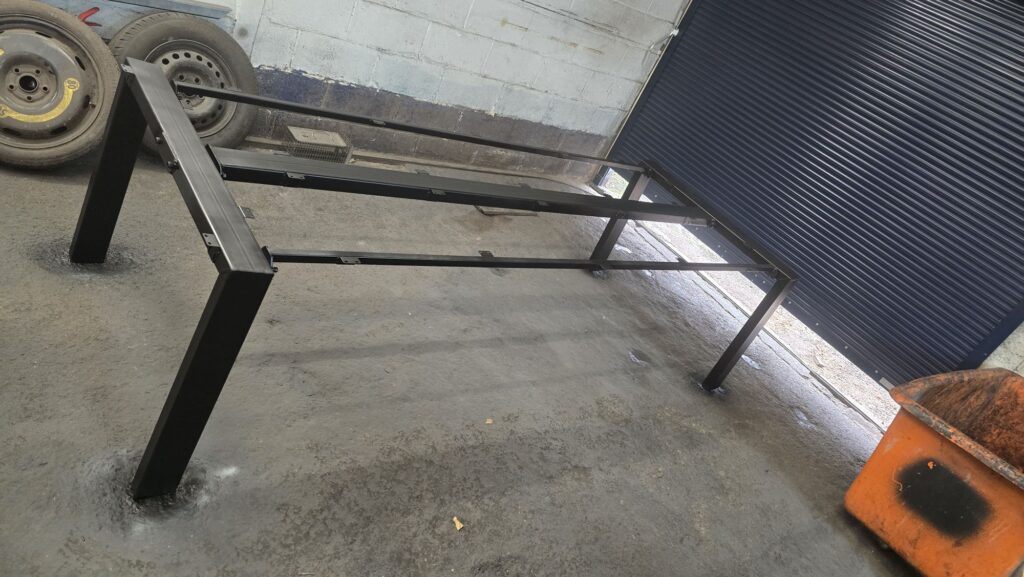
Once painted, I managed to find some plastic bungs that closed the end of the tube\spread the load on the floor, with everything ready it now time to build the frame in the dining room.
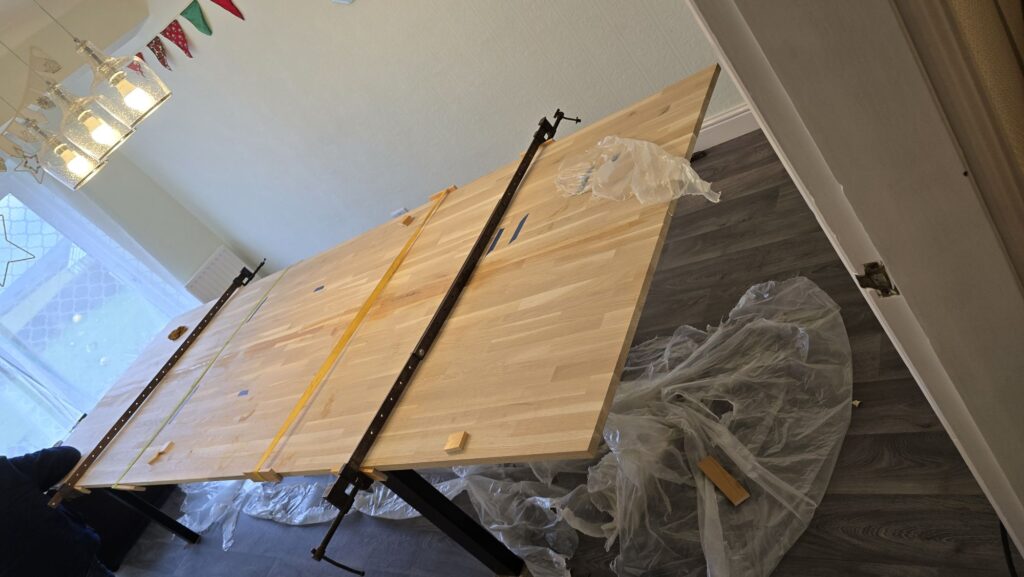
With the frame built I applied self-adhesive closed cell foam along the top faces off the frame to stop creaking noises. Next step was to test fit the oak worktops with them side by side we marked the length and cut the excess off, next we checked which side were best and what ends matched the best with these marked the worktops were pulled apart and using a borrowed biscuit joiner holes were made in both worktops.
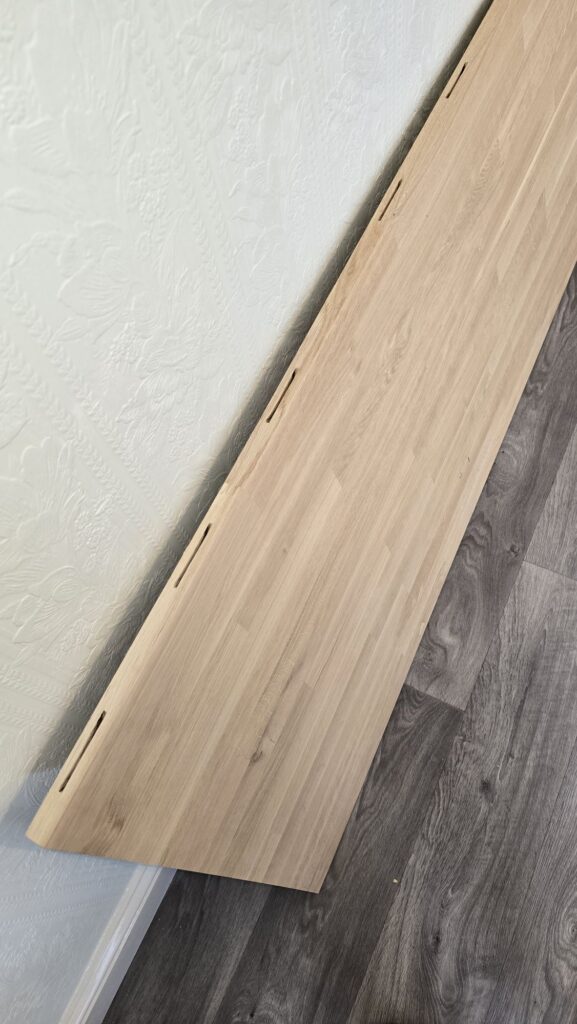
With a plastic sheet over the middle to catch any excess glue and some borrowed clamps (also my home made clamps, spare metal/wood bars and rachet straps) all ready. Time to glue, with glue and biscuits added once done the 2 half’s were clamped together and left to dry.

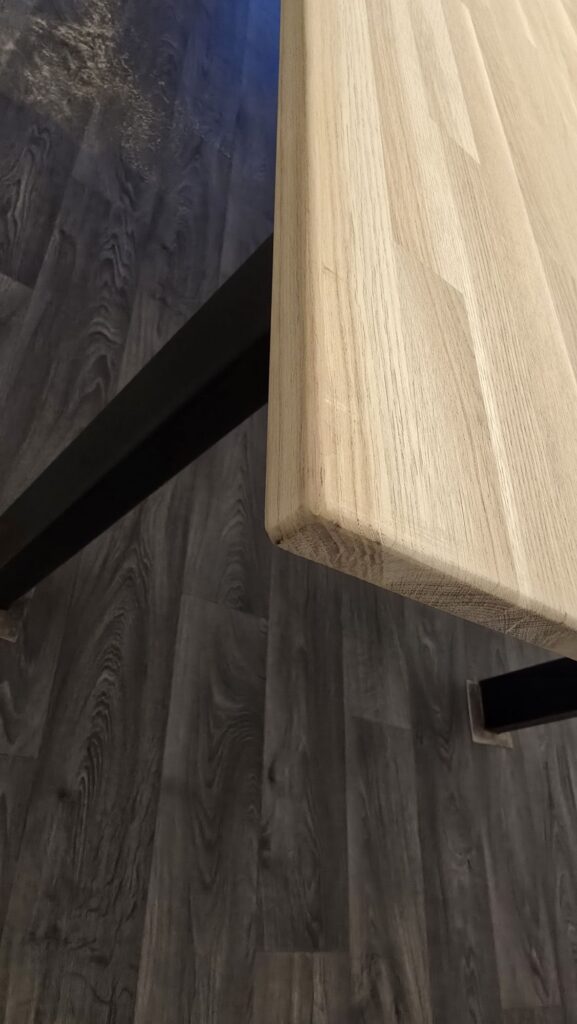
Once dry the joint was filled where needed. Using a hand held router a chamfer was added top and bottom all the way round. With this all done and it was time to sand the complete table, after clearing up and cleaning the table got treated to many coats of osmo oil.
Once dry it was time to use many wood screws to mount the metal frame to the top and admire the finnished table

