If you follow my blog you would have seen the test flight off the Wetlev V1
As this seem to work very well for some old exhaust tube and a sheet of aluminuim we have decided to build a Version 2.
The main aims
- Lighter
- More upright when floating
- Better and smaller nozzles
- Water proof metal
- Better seat and harness
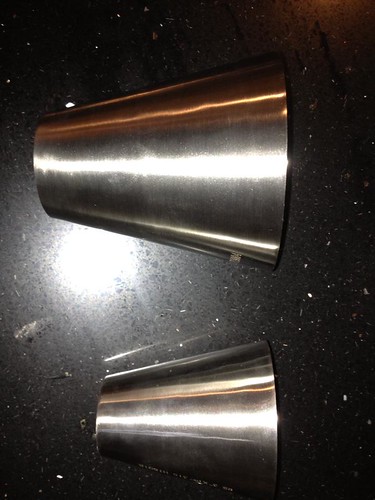
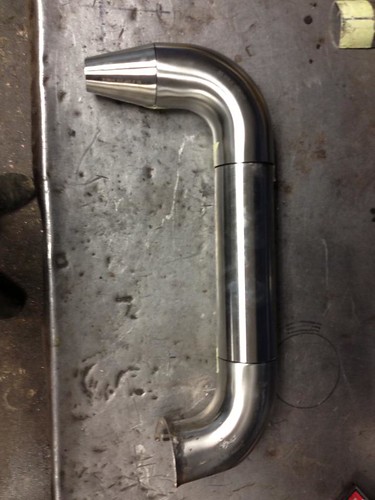
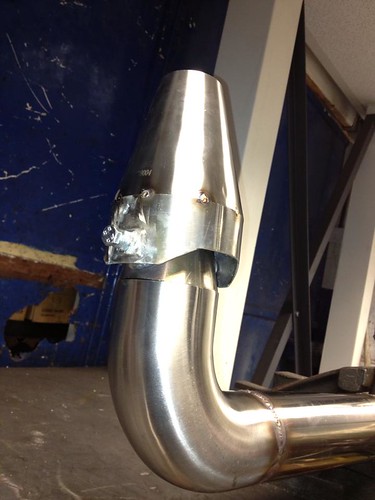
We started out by seeing what parts we could buy “off the shelf”, this proved quite sucessful with 90deg bend and reducers all available in stainless steel after ordering everything we needed we set about doing the basic design and layout of the tubes.
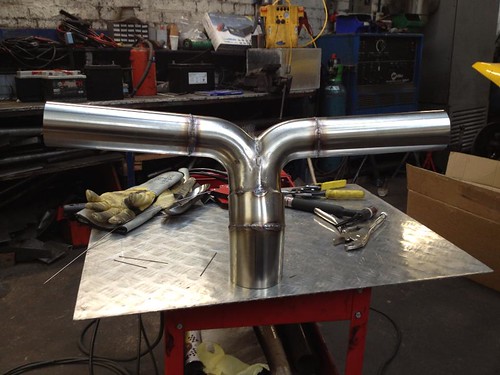
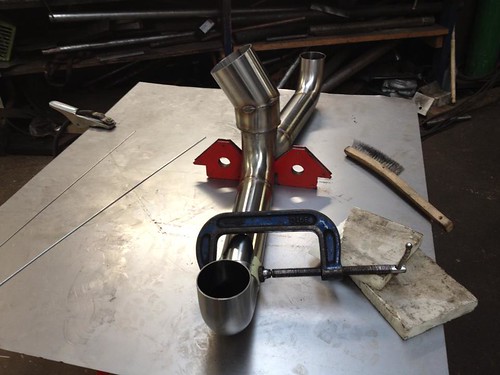
Much was taken from V1 but some changes were made, the centre Y piece was raked so the pipes split and also move forward very slightly this should bring the nozzles more inline with the person wearing the pack
All the parts are welded together using a TIG welder and stainless steel rods. (It been over a year from the last time we used the TIG welder! makes up for the ugly welds)
Next job was to make the steering nozzles and weld these together and machine the steering pivot bosses.
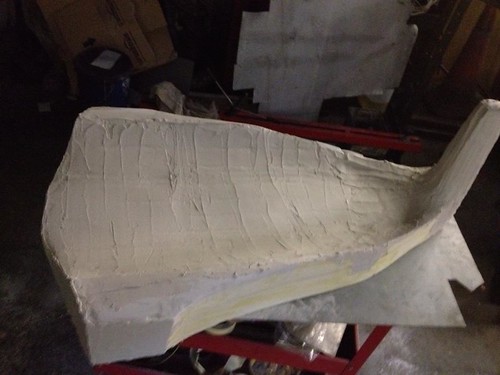
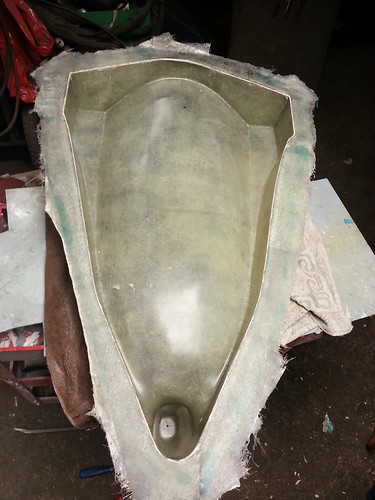
Next we turned to the seat/backing/buoyancy. We decided to make a design out of foam and then cast a mould from the foam. This have the option to make copies if we needed to make changes.
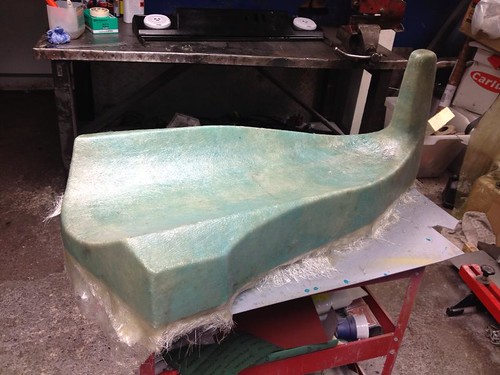
Once the fiberglass had set we trimmed the side and made a flange to go all the way around the outside, this gives the mould extra strength and also provides and good edge for making copies.
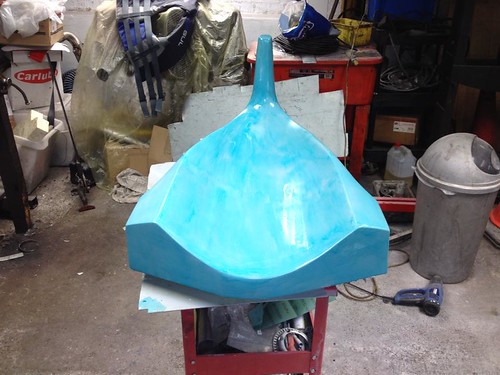
Once the flange was dry we removed all the foam and filler to leave us with a nice fiberglass mould.
To be updated very soon 😉
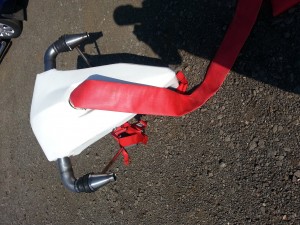
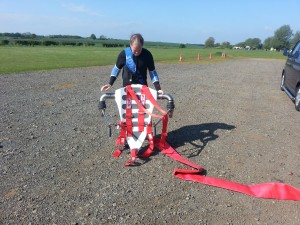
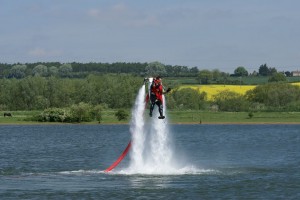
I’ve still got to finish the build write up but here some pictures off the finished Wetlev V2
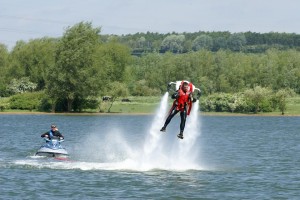
Here some photos off the test flight:
Video on Youtube
More testing can be found by clicking here








Hi,
Can you tell me the thickness of your pipes, and how much pressure can the pipe hold.
Thank you
I’m not sure of the thickness but it a 4″ – 60bar hose
Thank you very much, can you tell me also the thickness of your pipes in Wetlev version 2? I am doing the same project and i have a few more questions. Can you contact me directly by my mail.
Thank you
Pingback: T49.net Blog » Wetlev V2.01 – First test flight
Pingback: DG Motor Services » Projects – Wetlev – Water powered jetpack
Pingback: Wetlev 2 water jet pack marginally less lethal than prior version
Pingback: rndm(mod) » Wetlev 2 water jet pack marginally less lethal than prior version
Pingback: Wetlev 2 water jet pack marginally less lethal than prior version - RaspberryPiBoards
Pingback: Wetlev 2 water jet pack marginally less lethal than prior version | Make, Electronics projects, electronic Circuits, DIY projects, Microcontroller Projects - makeelectronic.com
Pingback: T49.net Blog » Wetlev V2 – more testing
Pingback: Wetlev jet pack 2 aguas poco menos letal que la versión anterior - | Indagadores |Seguridad informatica |Seguridad en internet