We have been cracking on with the wetlev, as the season is coming to a start we thought it would be best to rebuild the supercharger on the 2006 Sea-Doo GTX jetski.
First thing to do was remove the supercharger – this is very simple and should take you about 1-2 hours. There lots off guides on the internet a quick search on the internet will provide many guides but a quick teardown is
- Remove seats
- Remove engine bay trims
- Remove inlet pipes
- Remove boost pipe
- Unbolt exhaust manifold and disconnect water pipe
- Remove exhaust waterbox strap
- Relocate exhaust
- Remove 3 bolts for supercharger and then slide supercharger out
Once the supercharger is out you should see some thing like this:

The supercharger once removed
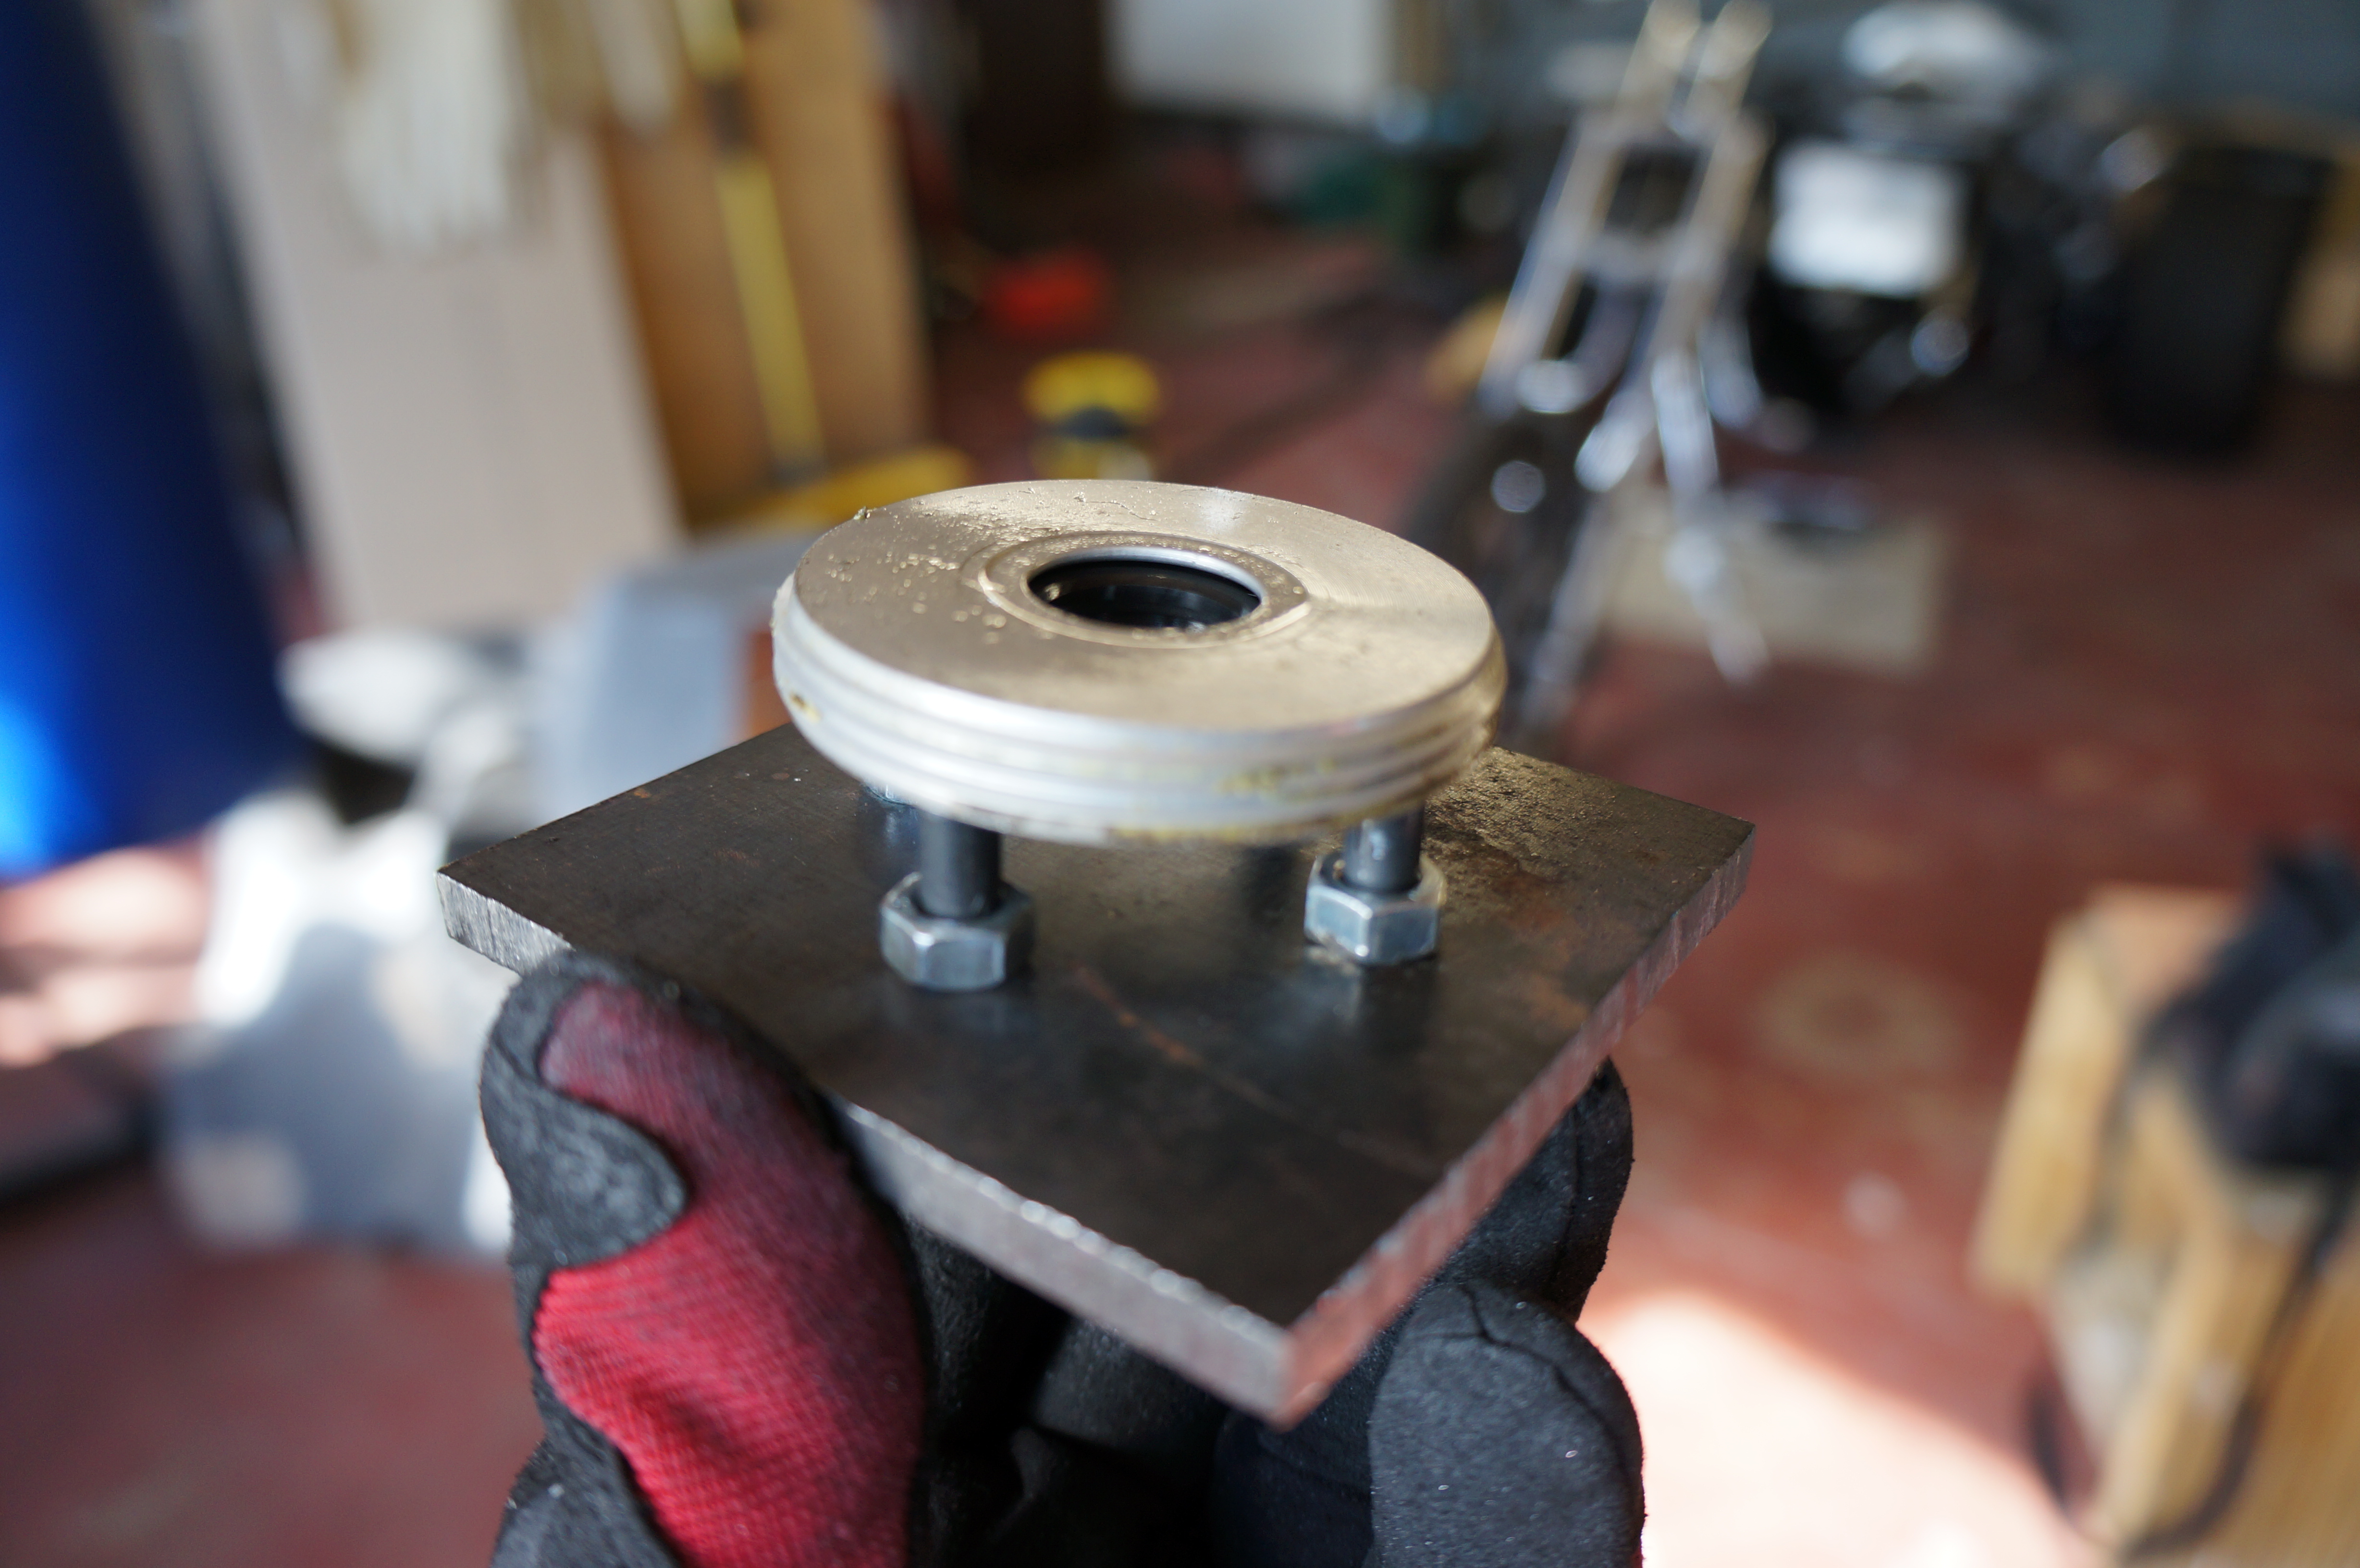
I made a bracket to support the charger in the vice:
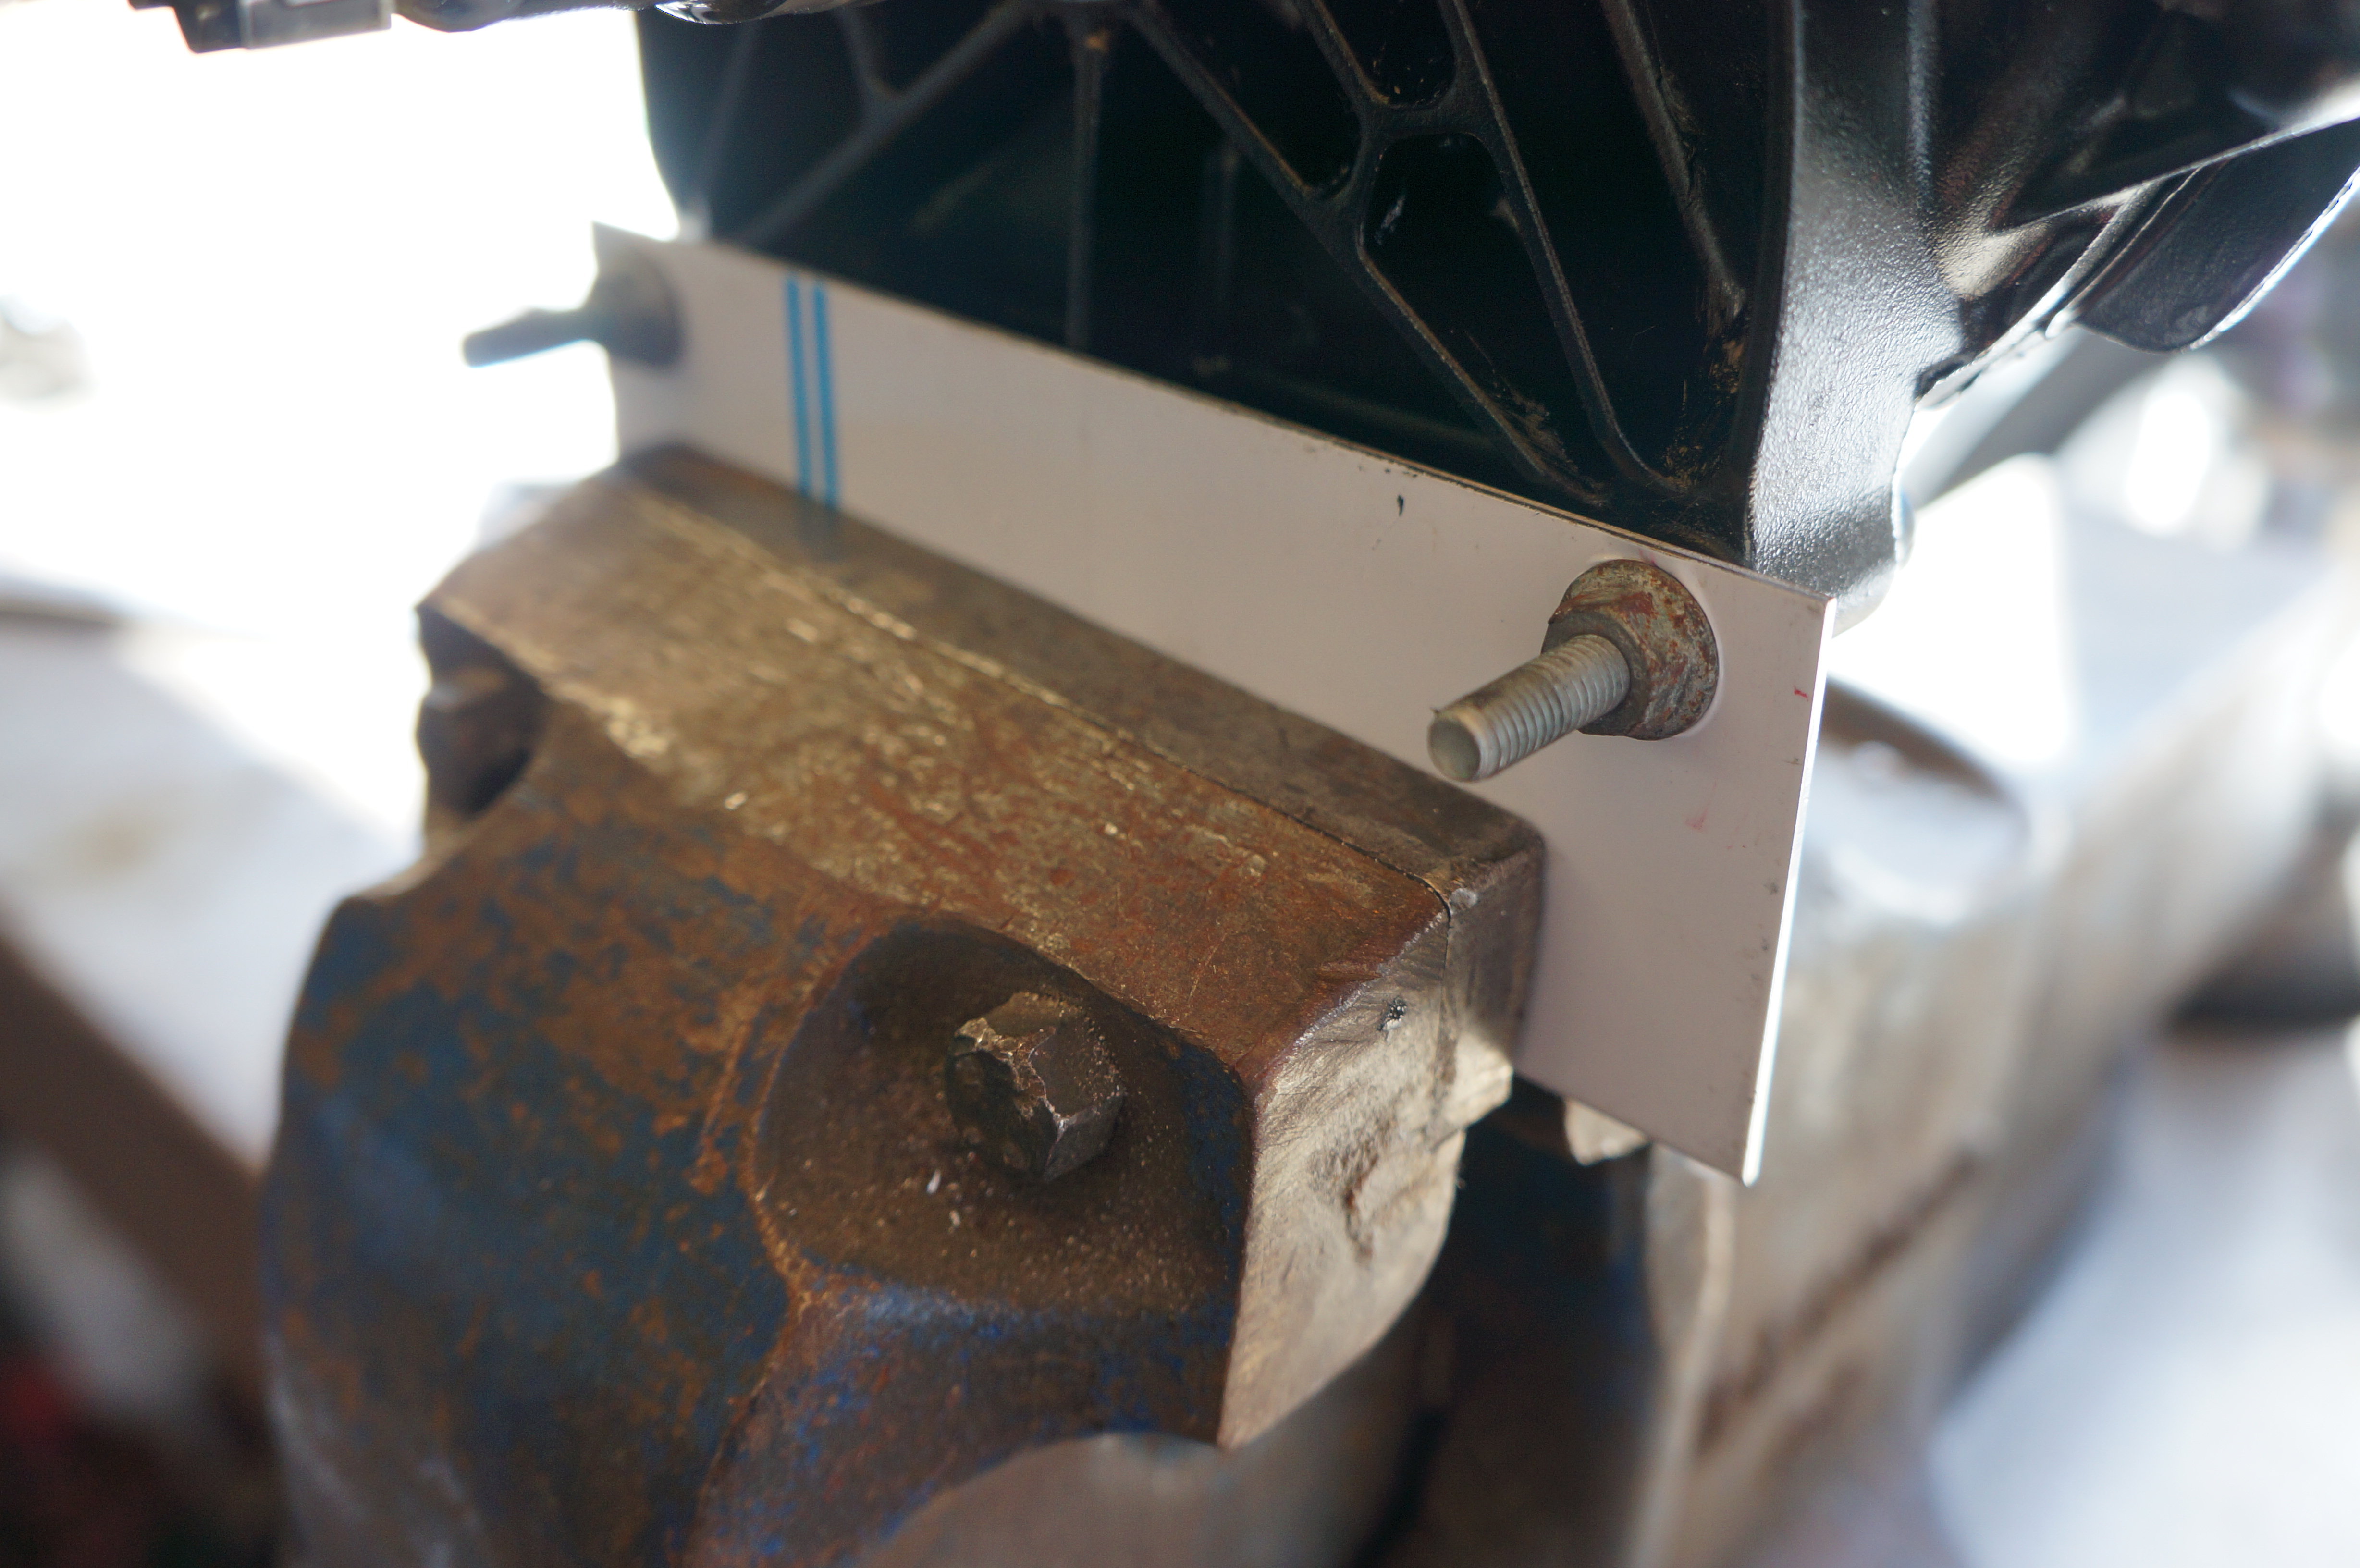
Bracket made to hold the supercharger in the vice
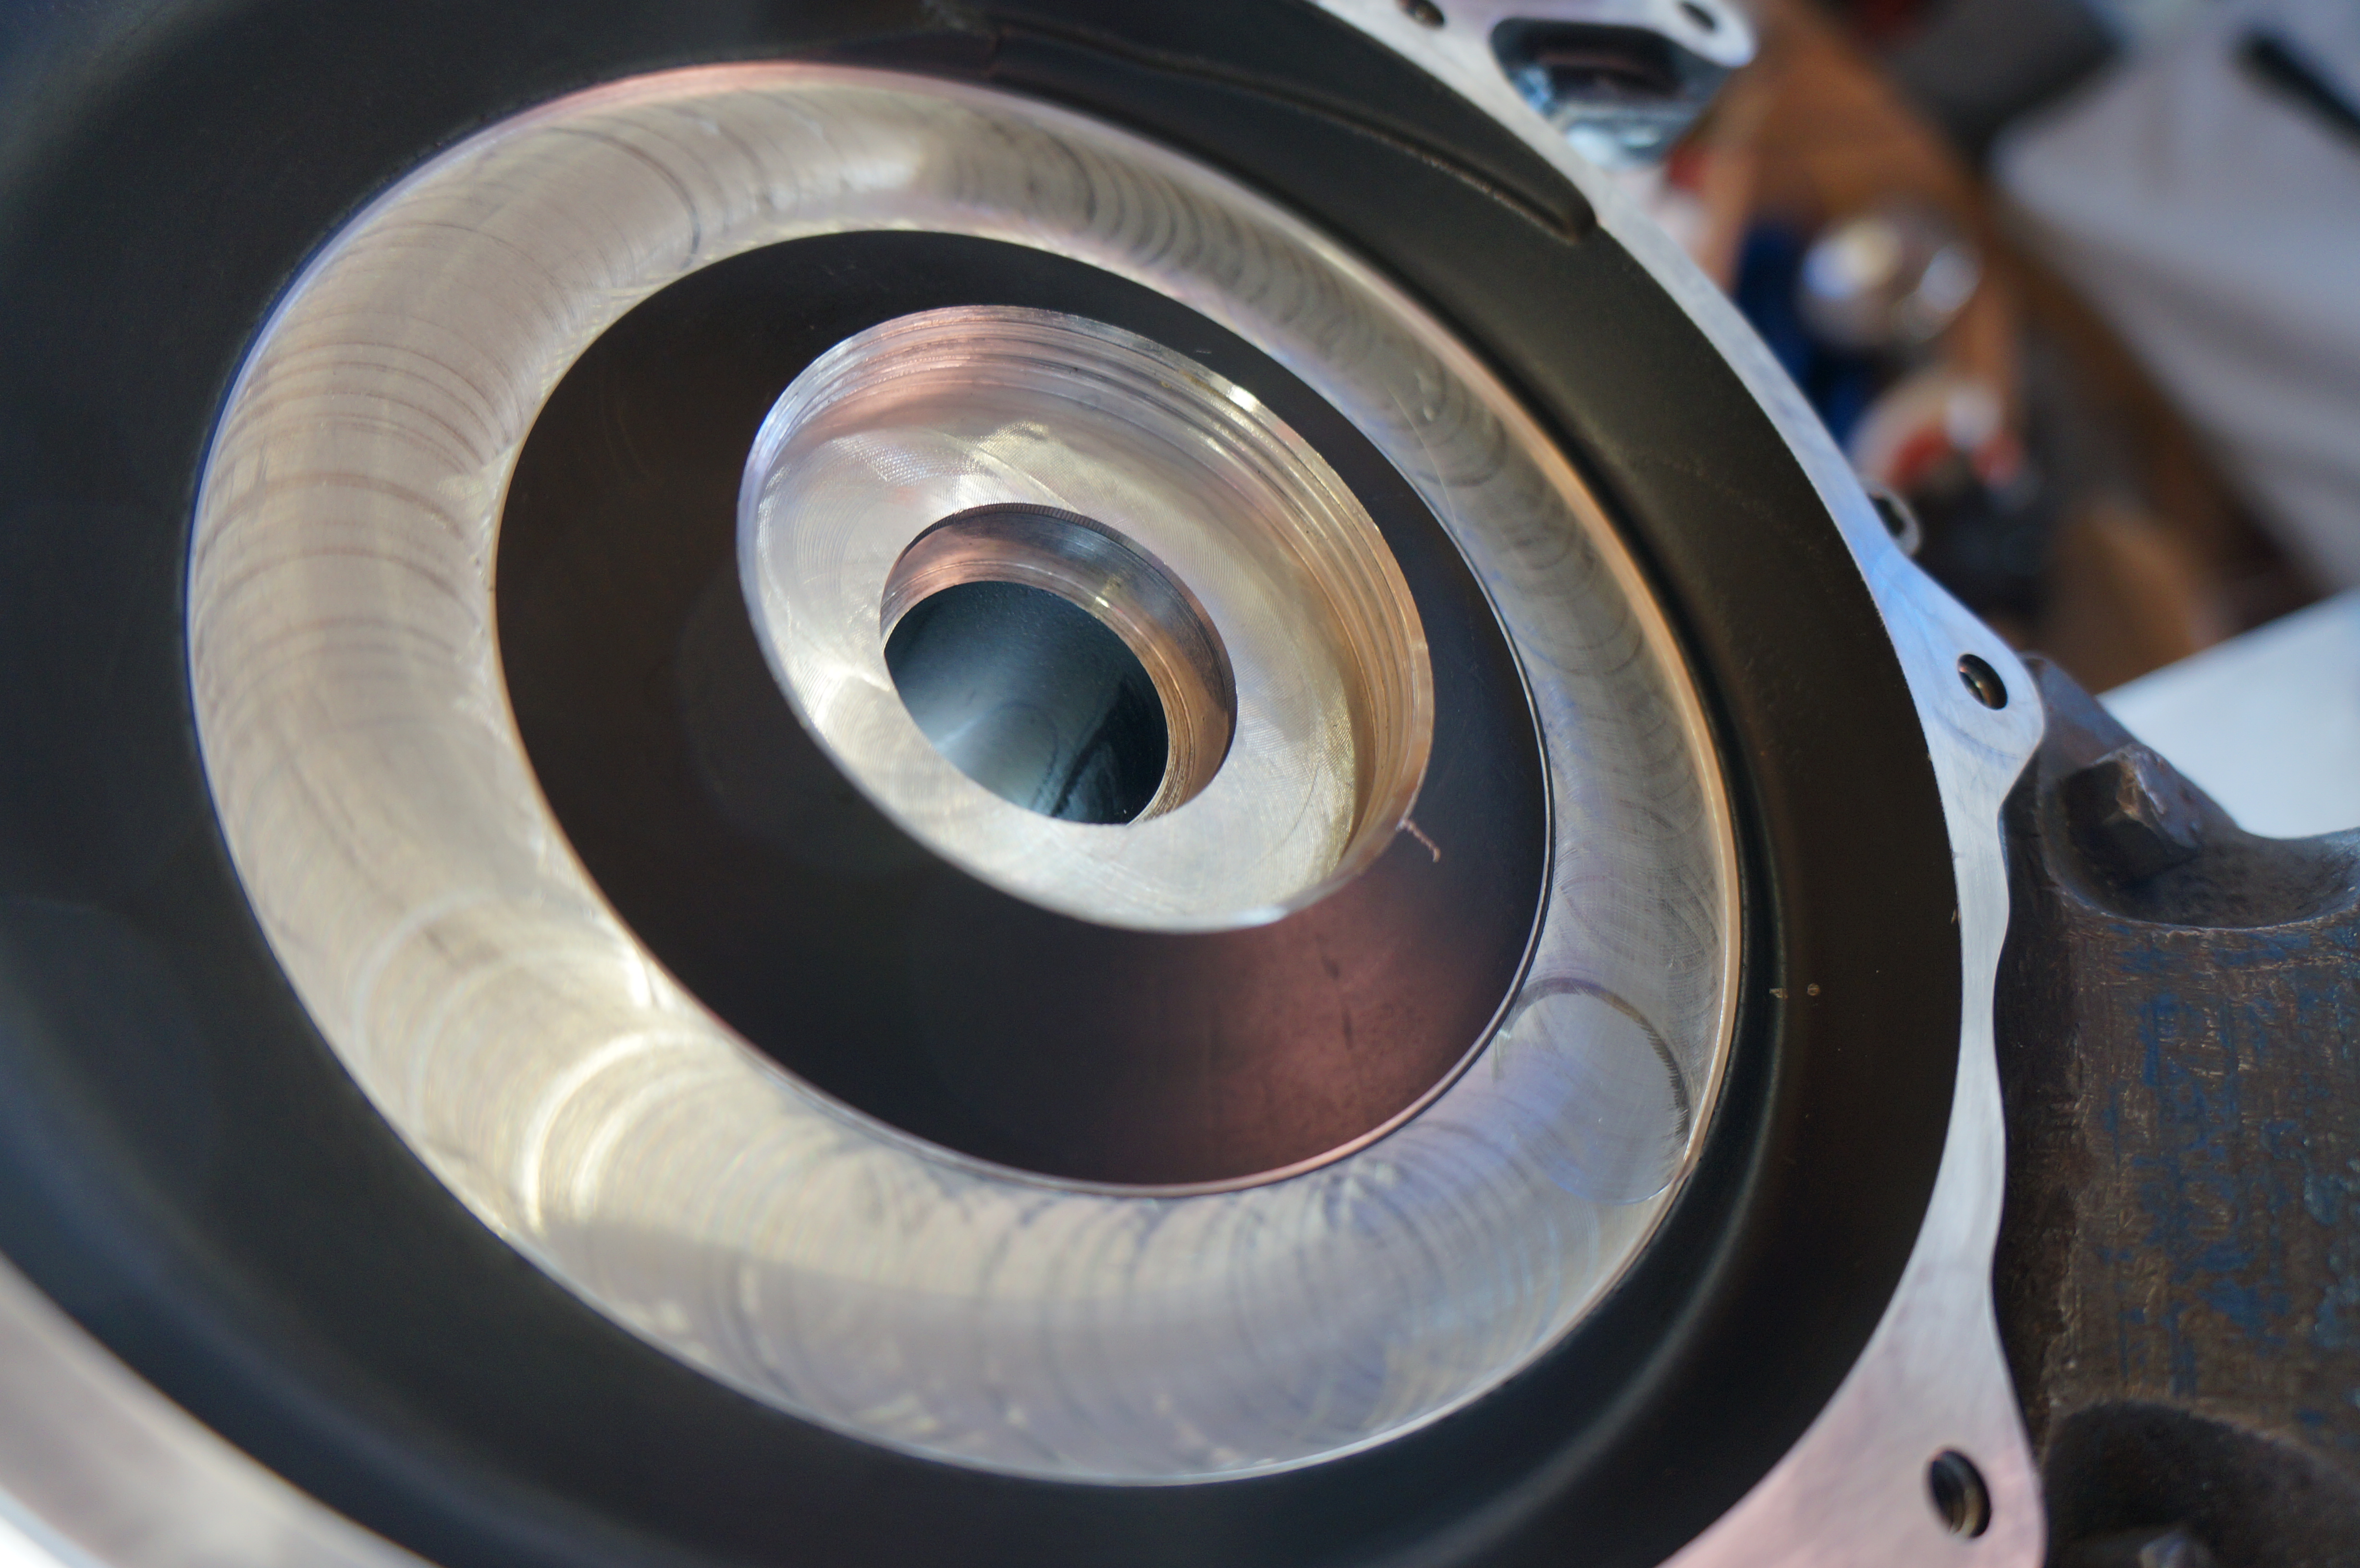
The important part is the gear drive with clutch unit:
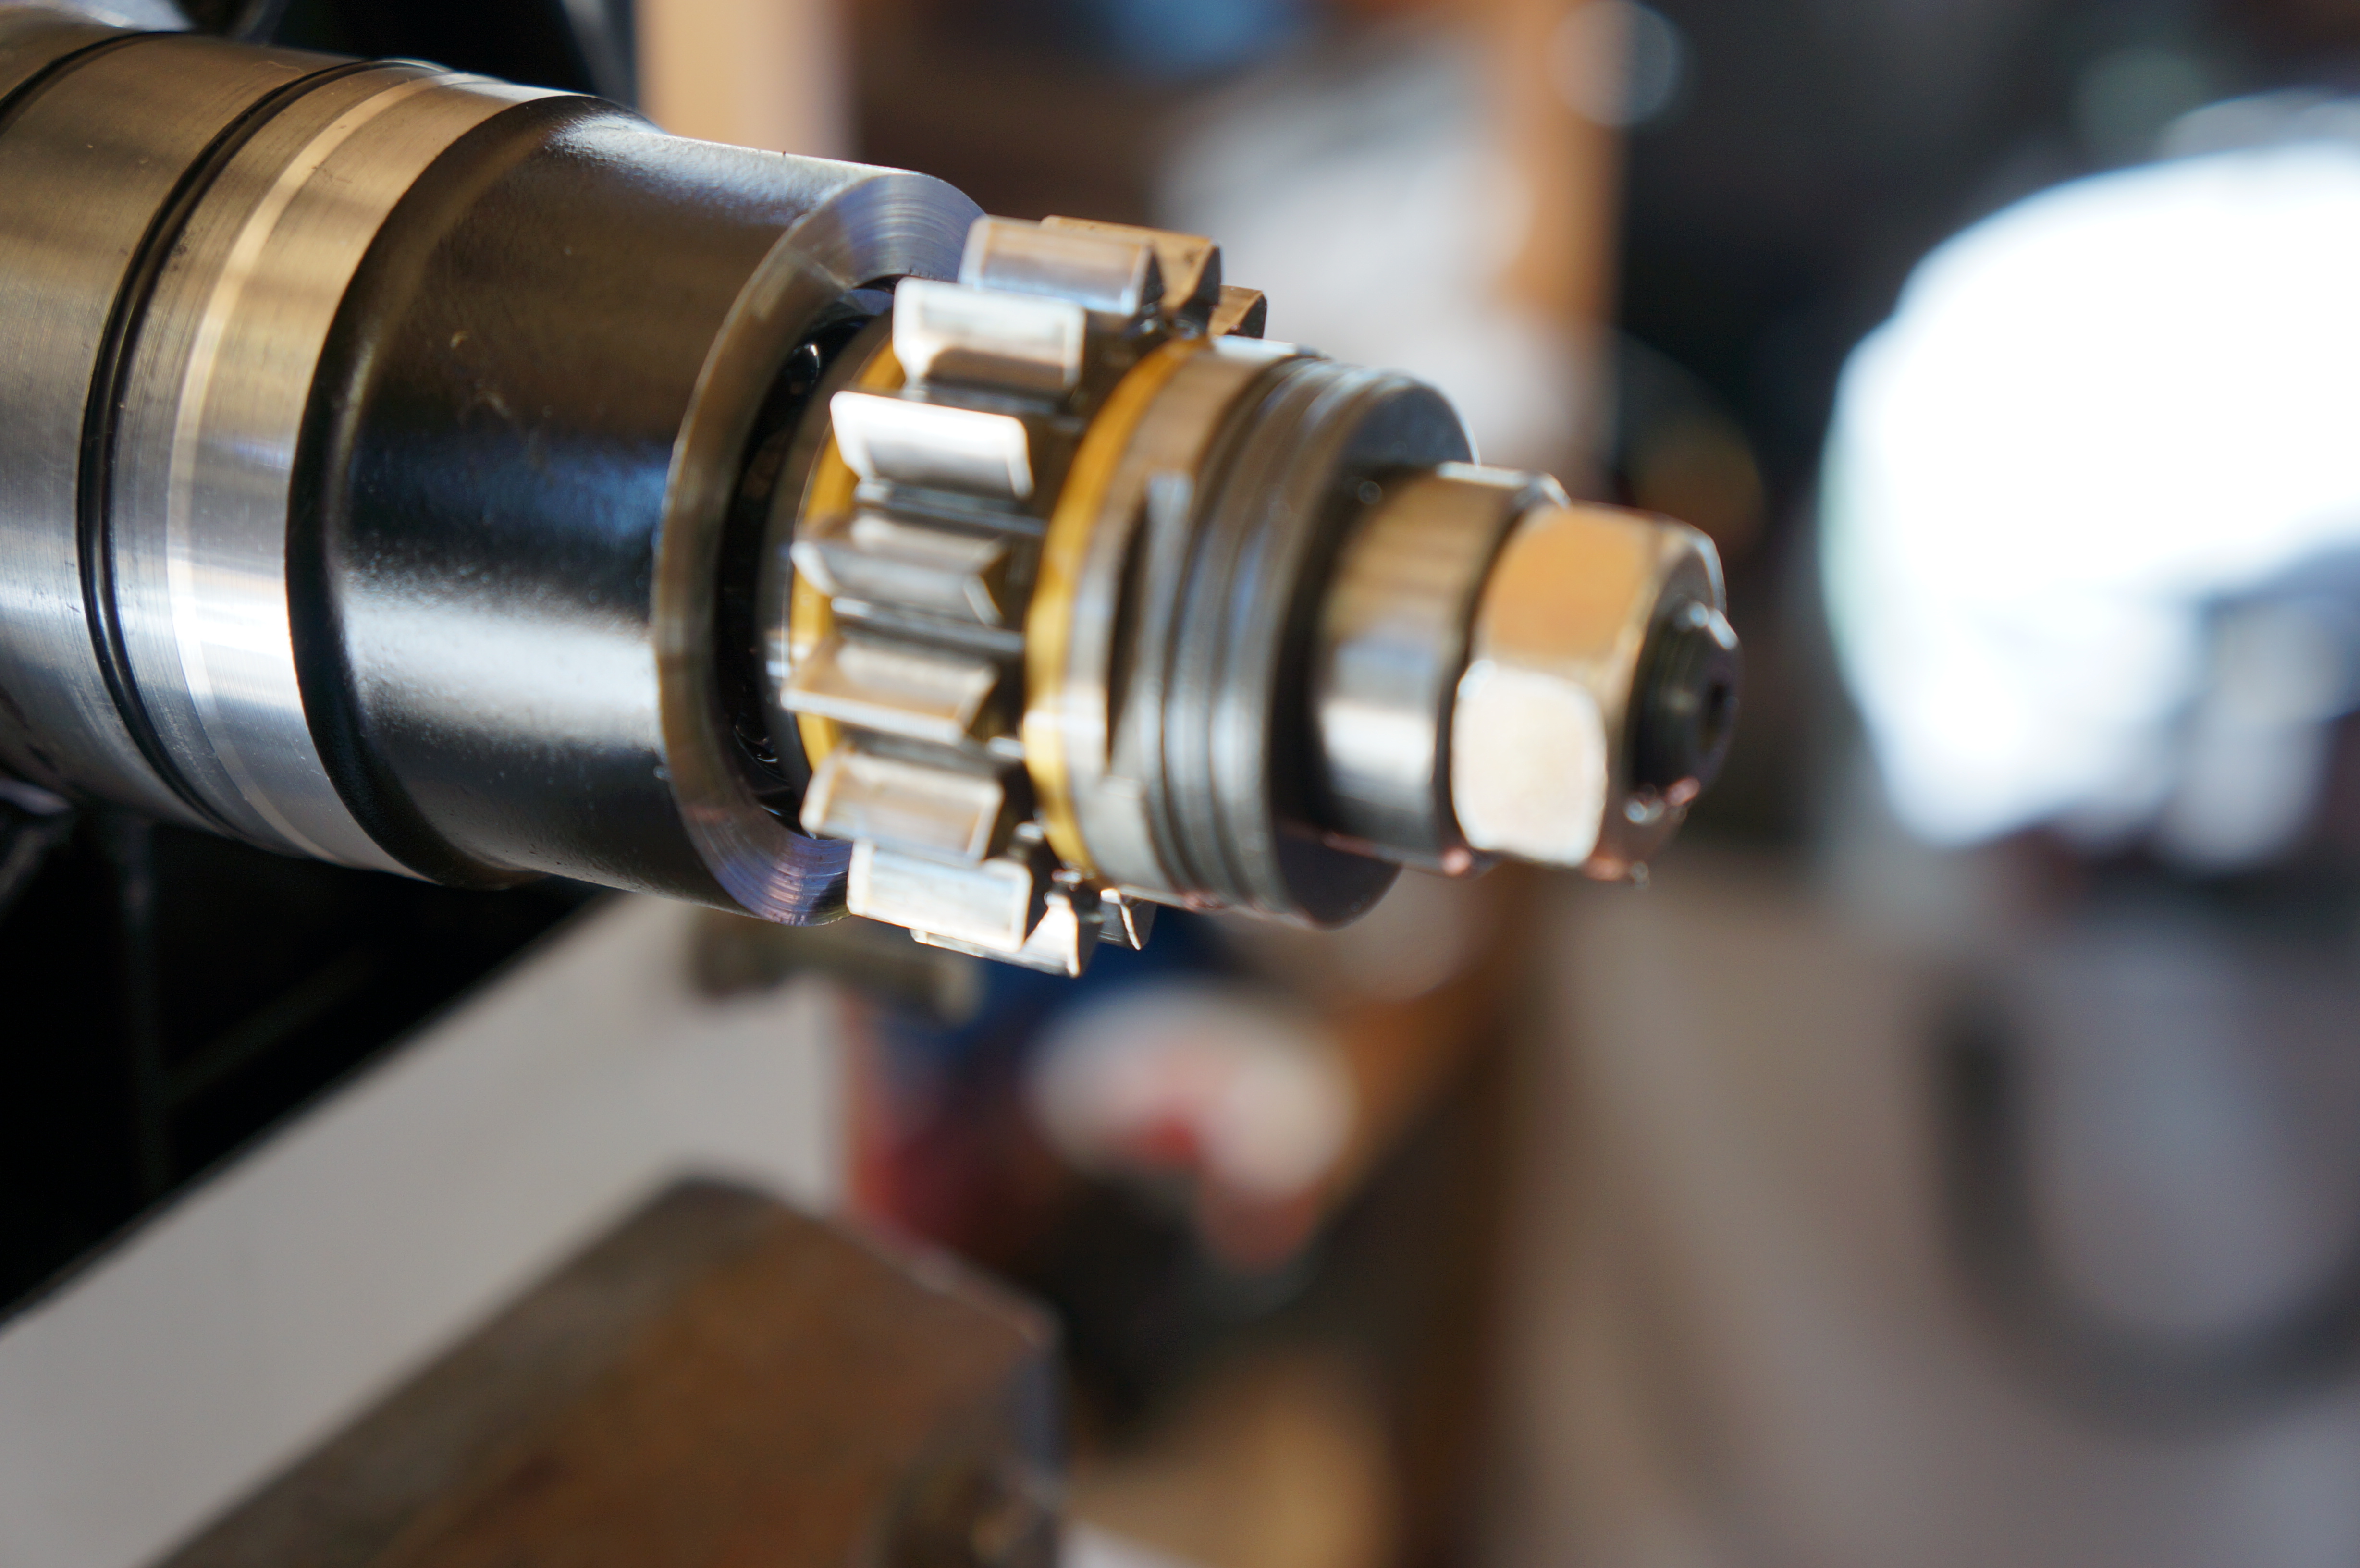
The supercharger drive unit and clutch
First job is to grind down a 25mm spanner so it fits on the flats next to the gear, undo the 17mm nut the thread is a normal right hand thread. Once the nut is undone remove the sleeve and the dished washers that are part off the clutch unit. You then remove the first clutch washer, followed by the driver gear and needle bearings followed by the second clutch washer. Once all removed turn the supercharger round and we will start on the input side.
Remove all but 2 off the bolts around the outside off the supercharger unit, I then split the casing in 2 by pressing wedges between the lugs that stick around the outside once the casing has come apart remove the final bolts and separate.

The inside off the drive side off the supercharger

After splitting the supercharger into half
Now refit the 25mm locking ring on the back off the supercharger and using a 17mm socket undo the supercharger impeller (this thread is Left hand so turn clockwise to undo) once undone remove the washer and the impeller and mounting base plus O ring.
The inside off the drive side off the supercharger
Inspect the impeller for damage this one looked very good.

The vanes look in very good condition

Next job is to press the shaft out off the supercharger housing. I sat the charger on so aluminium blocks and used a drill press to press the shaft out (the shaft came out quite easy with the bearing attached)
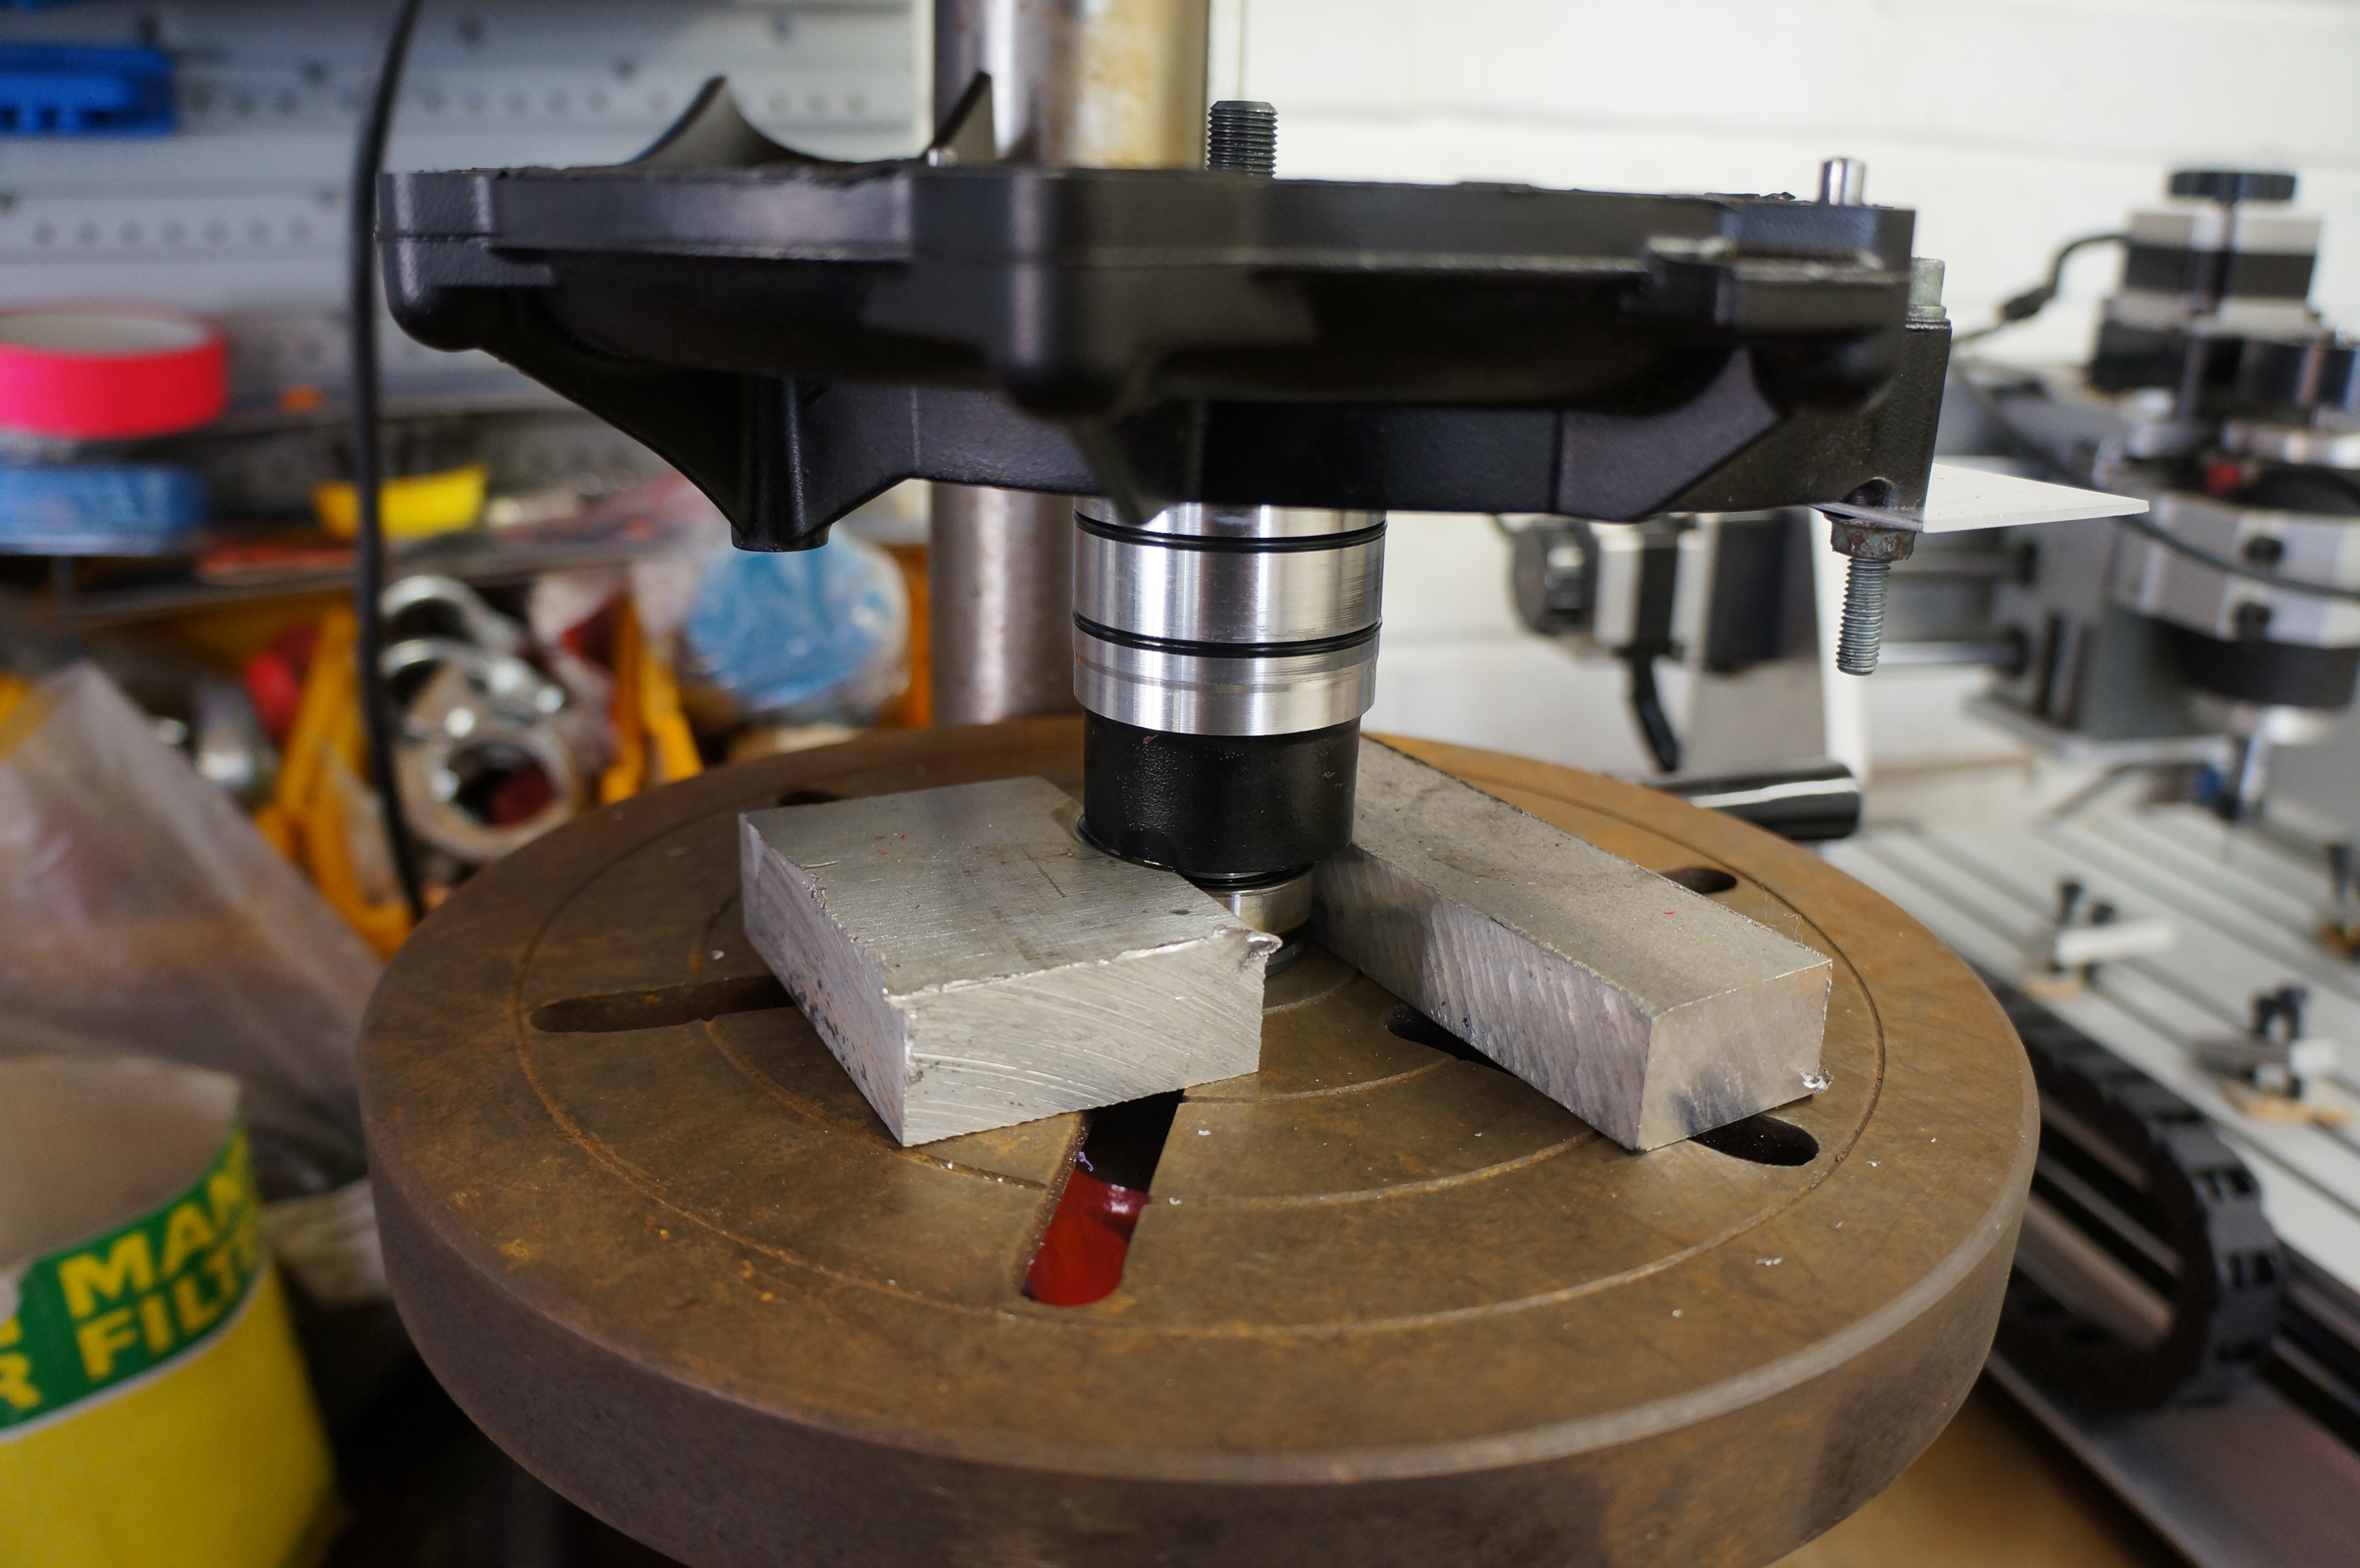
Placed on aluminium blocks

Now comes the part you need a special tool for, You need to remove the round aluminium cover that is the inner bearing cover. Because I dont have any special tools I made my own version. Using some 6mm steel plate I marked a 44mm diameter circle, I then marked a cross through the center off the circle then drilled a 6mm hole at each intersection point using a 6mm shanked bolt with the head cut off and using 2 nuts to hold it into the plate. I then welded an old wheel nut to the other side.

6mm Steel plate with 4x6mm studs in a 44mm diameter circle

The back side off my homemade tool – 19MM wheel nut welded to the back
After heating the supercharger housing to release the loctite the tool was used to undo the cover

This cover proved to be very tight and took 2-3 attempts off heating and trying to get it undone.

At this stage with everything removed I clean both sealing faces on the supercharger and also completely cleaned all the housings
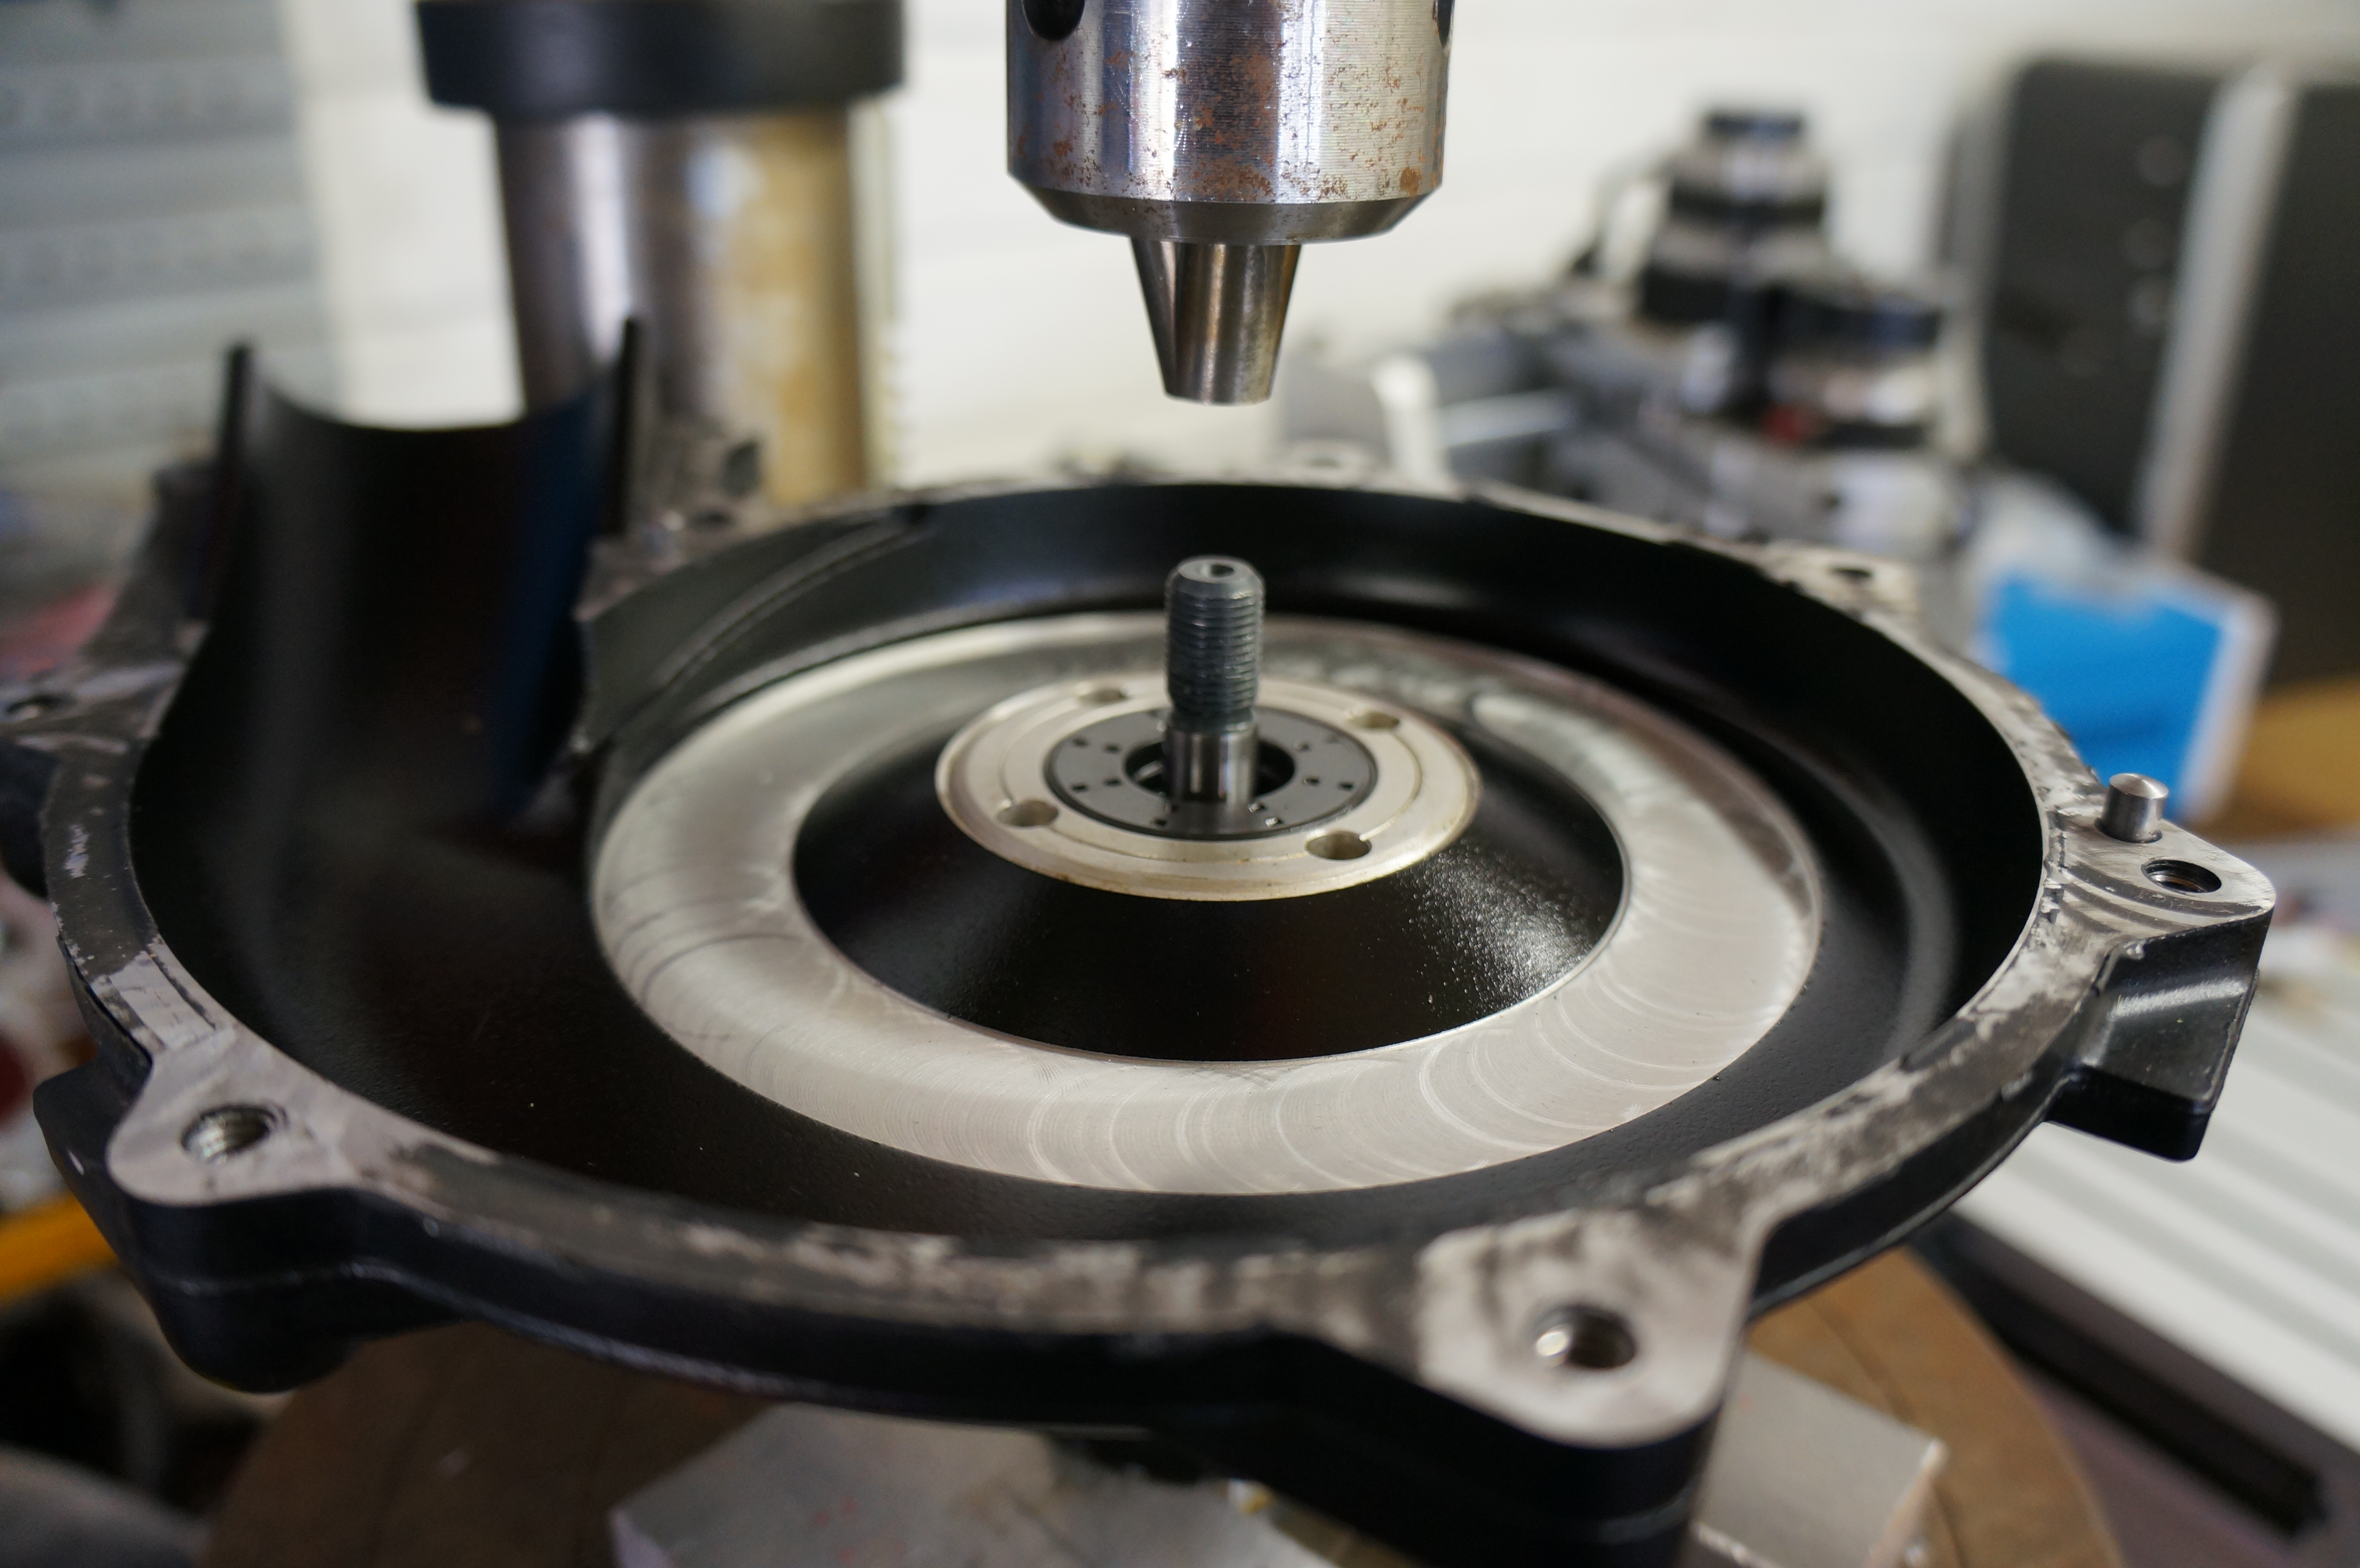
Next was to reinstall the bearing under the cover

Reinstall the bearing cover and using a drill bit I placed the shaft support in the back half (This stage was not needed as the main shaft and other bearing should be built as unit and pressed into this bearing)

Press the bearing onto the shaft and fit all the sleeve’s and spacers in the order they came out, Now press the complete assembly into the supercharger and other bearing
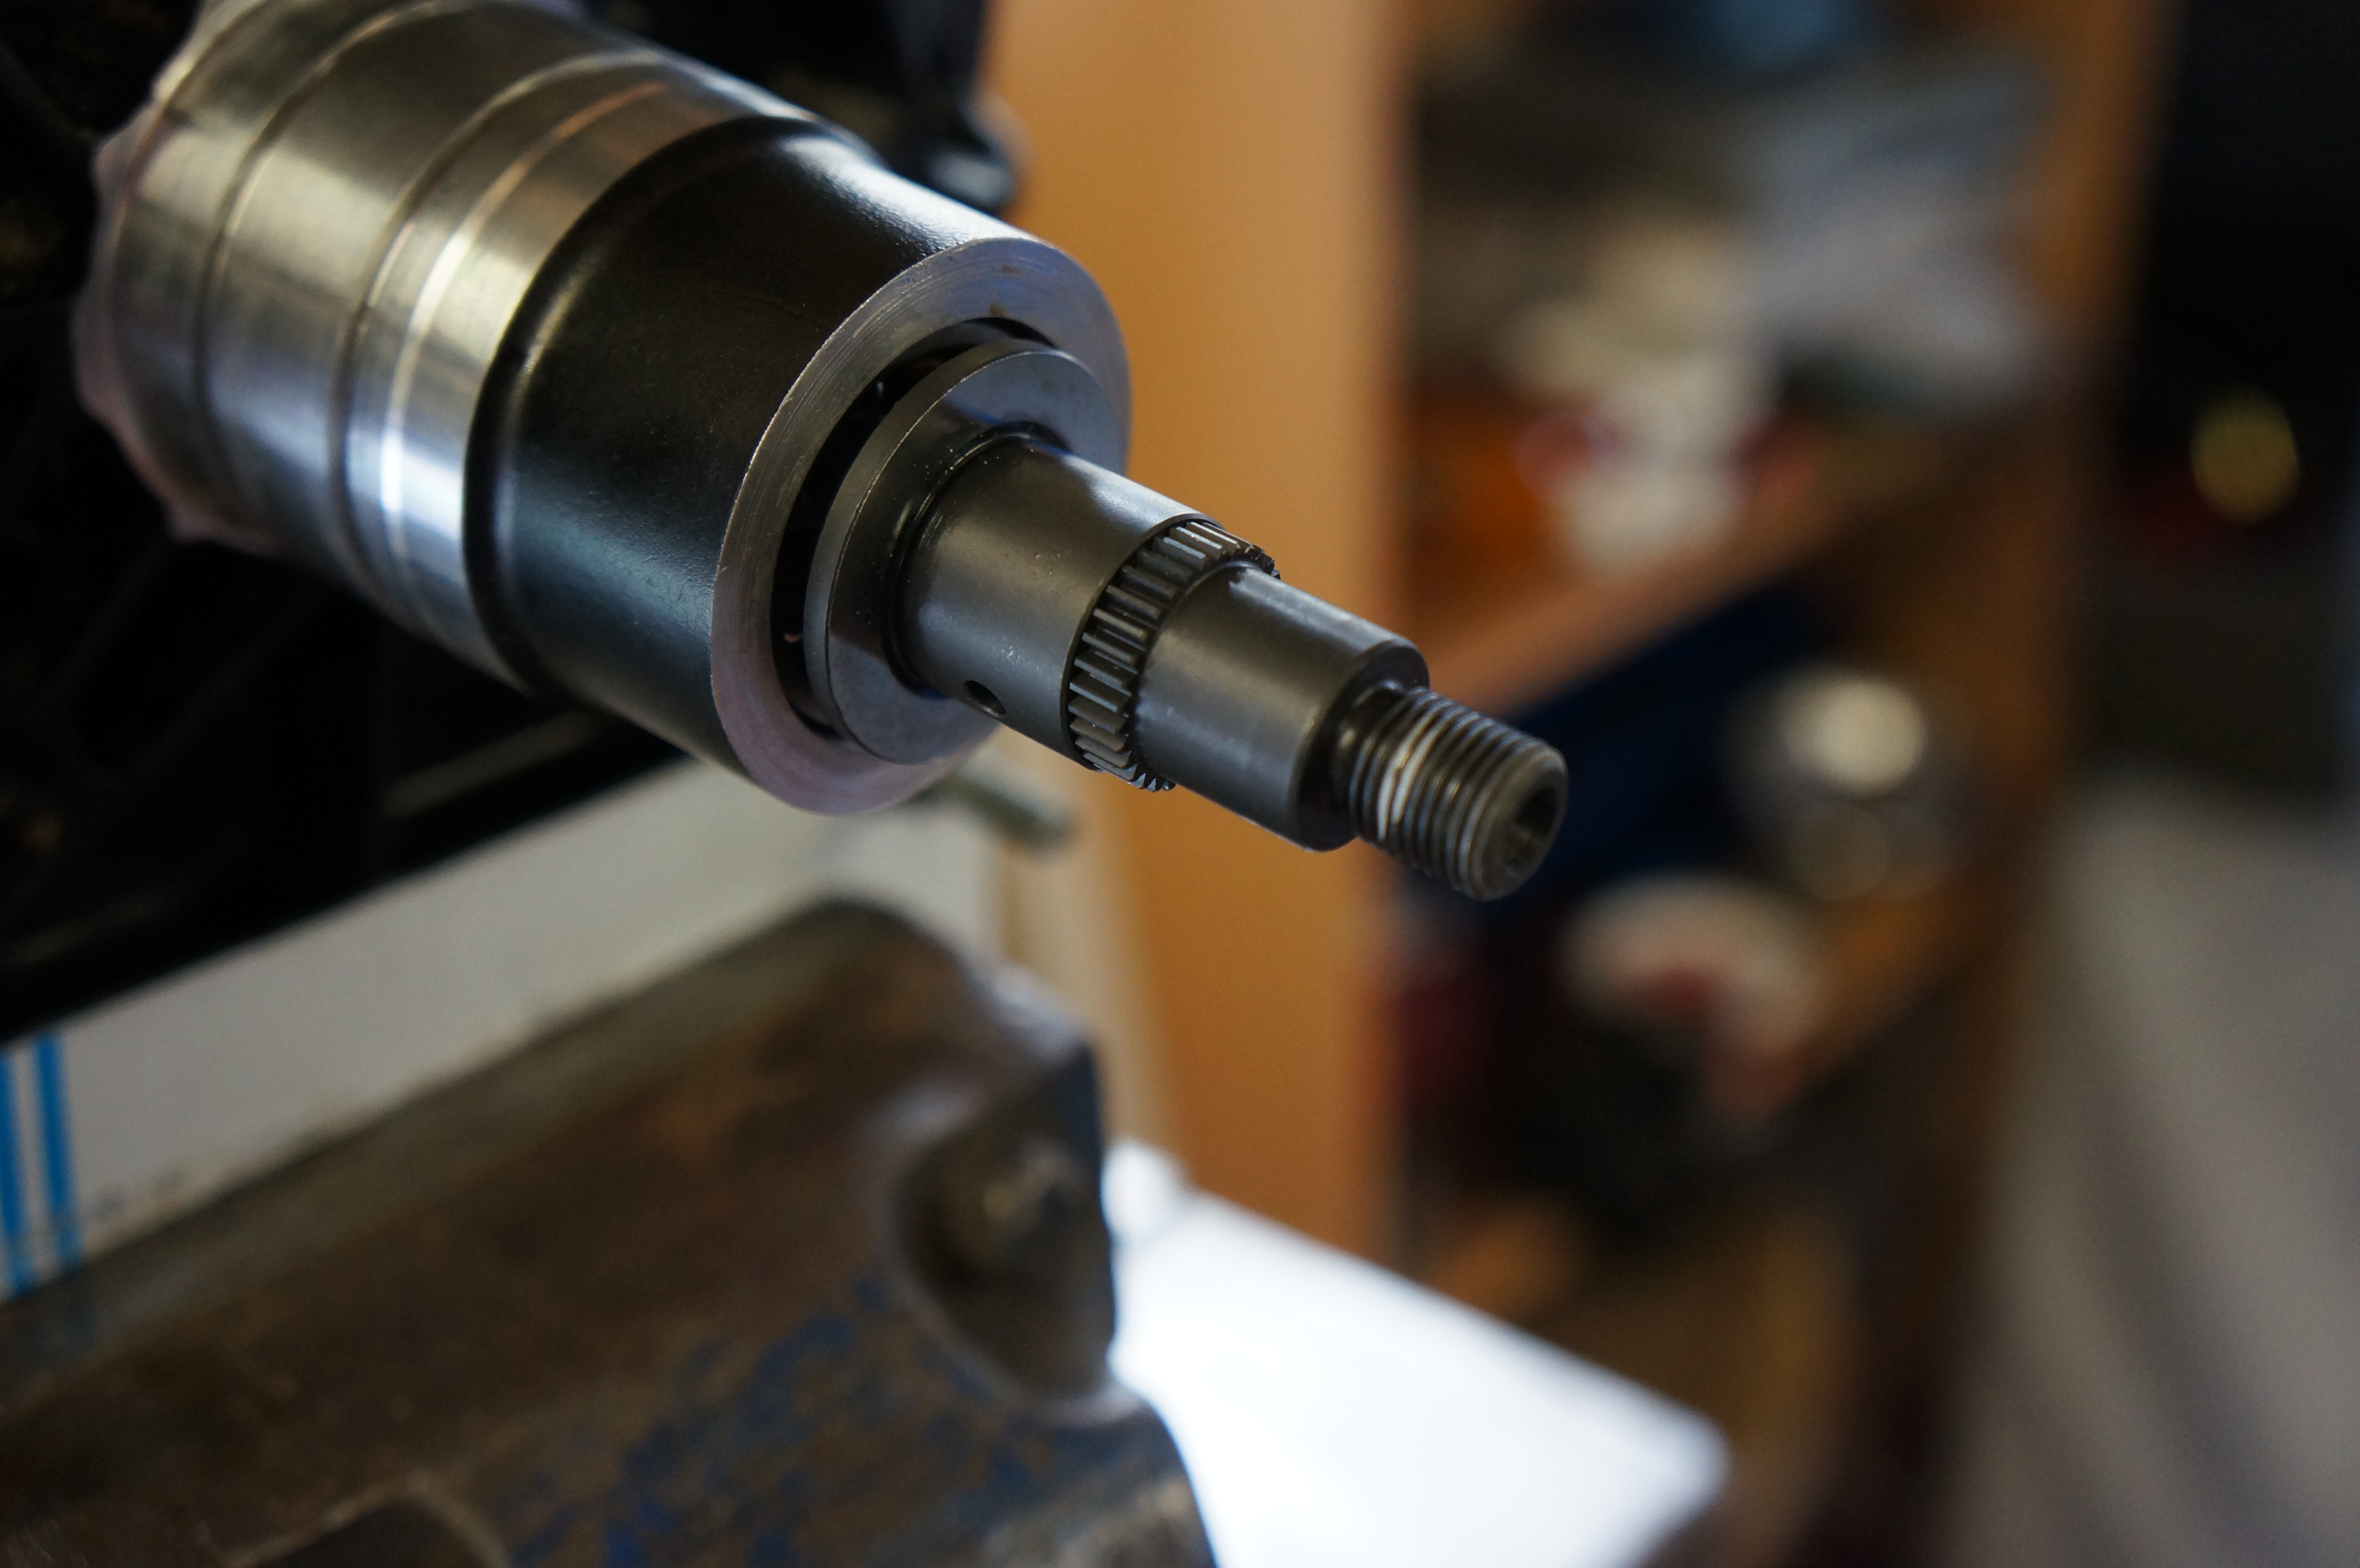
Now you should end up with this sticking out

Press the new seal in and fit the O ring and impeller mounting flange

Now refit the impeller (remember nut is Left hand thread) and torque to correct setting. Now apply a very thin film off sealer around the edge off the supercharger (most people use way to much and anything that squibs out will squib inside as well and go round the engine!!)


Now bolt both sections back together

A very very slight squib 🙂
Now we start back on the drive side off the supercharger, start by soaking the new supercharger washers with oil and install 1 onto the shaft.

I used a socket to act a press for installing the needle washers into the drive gear

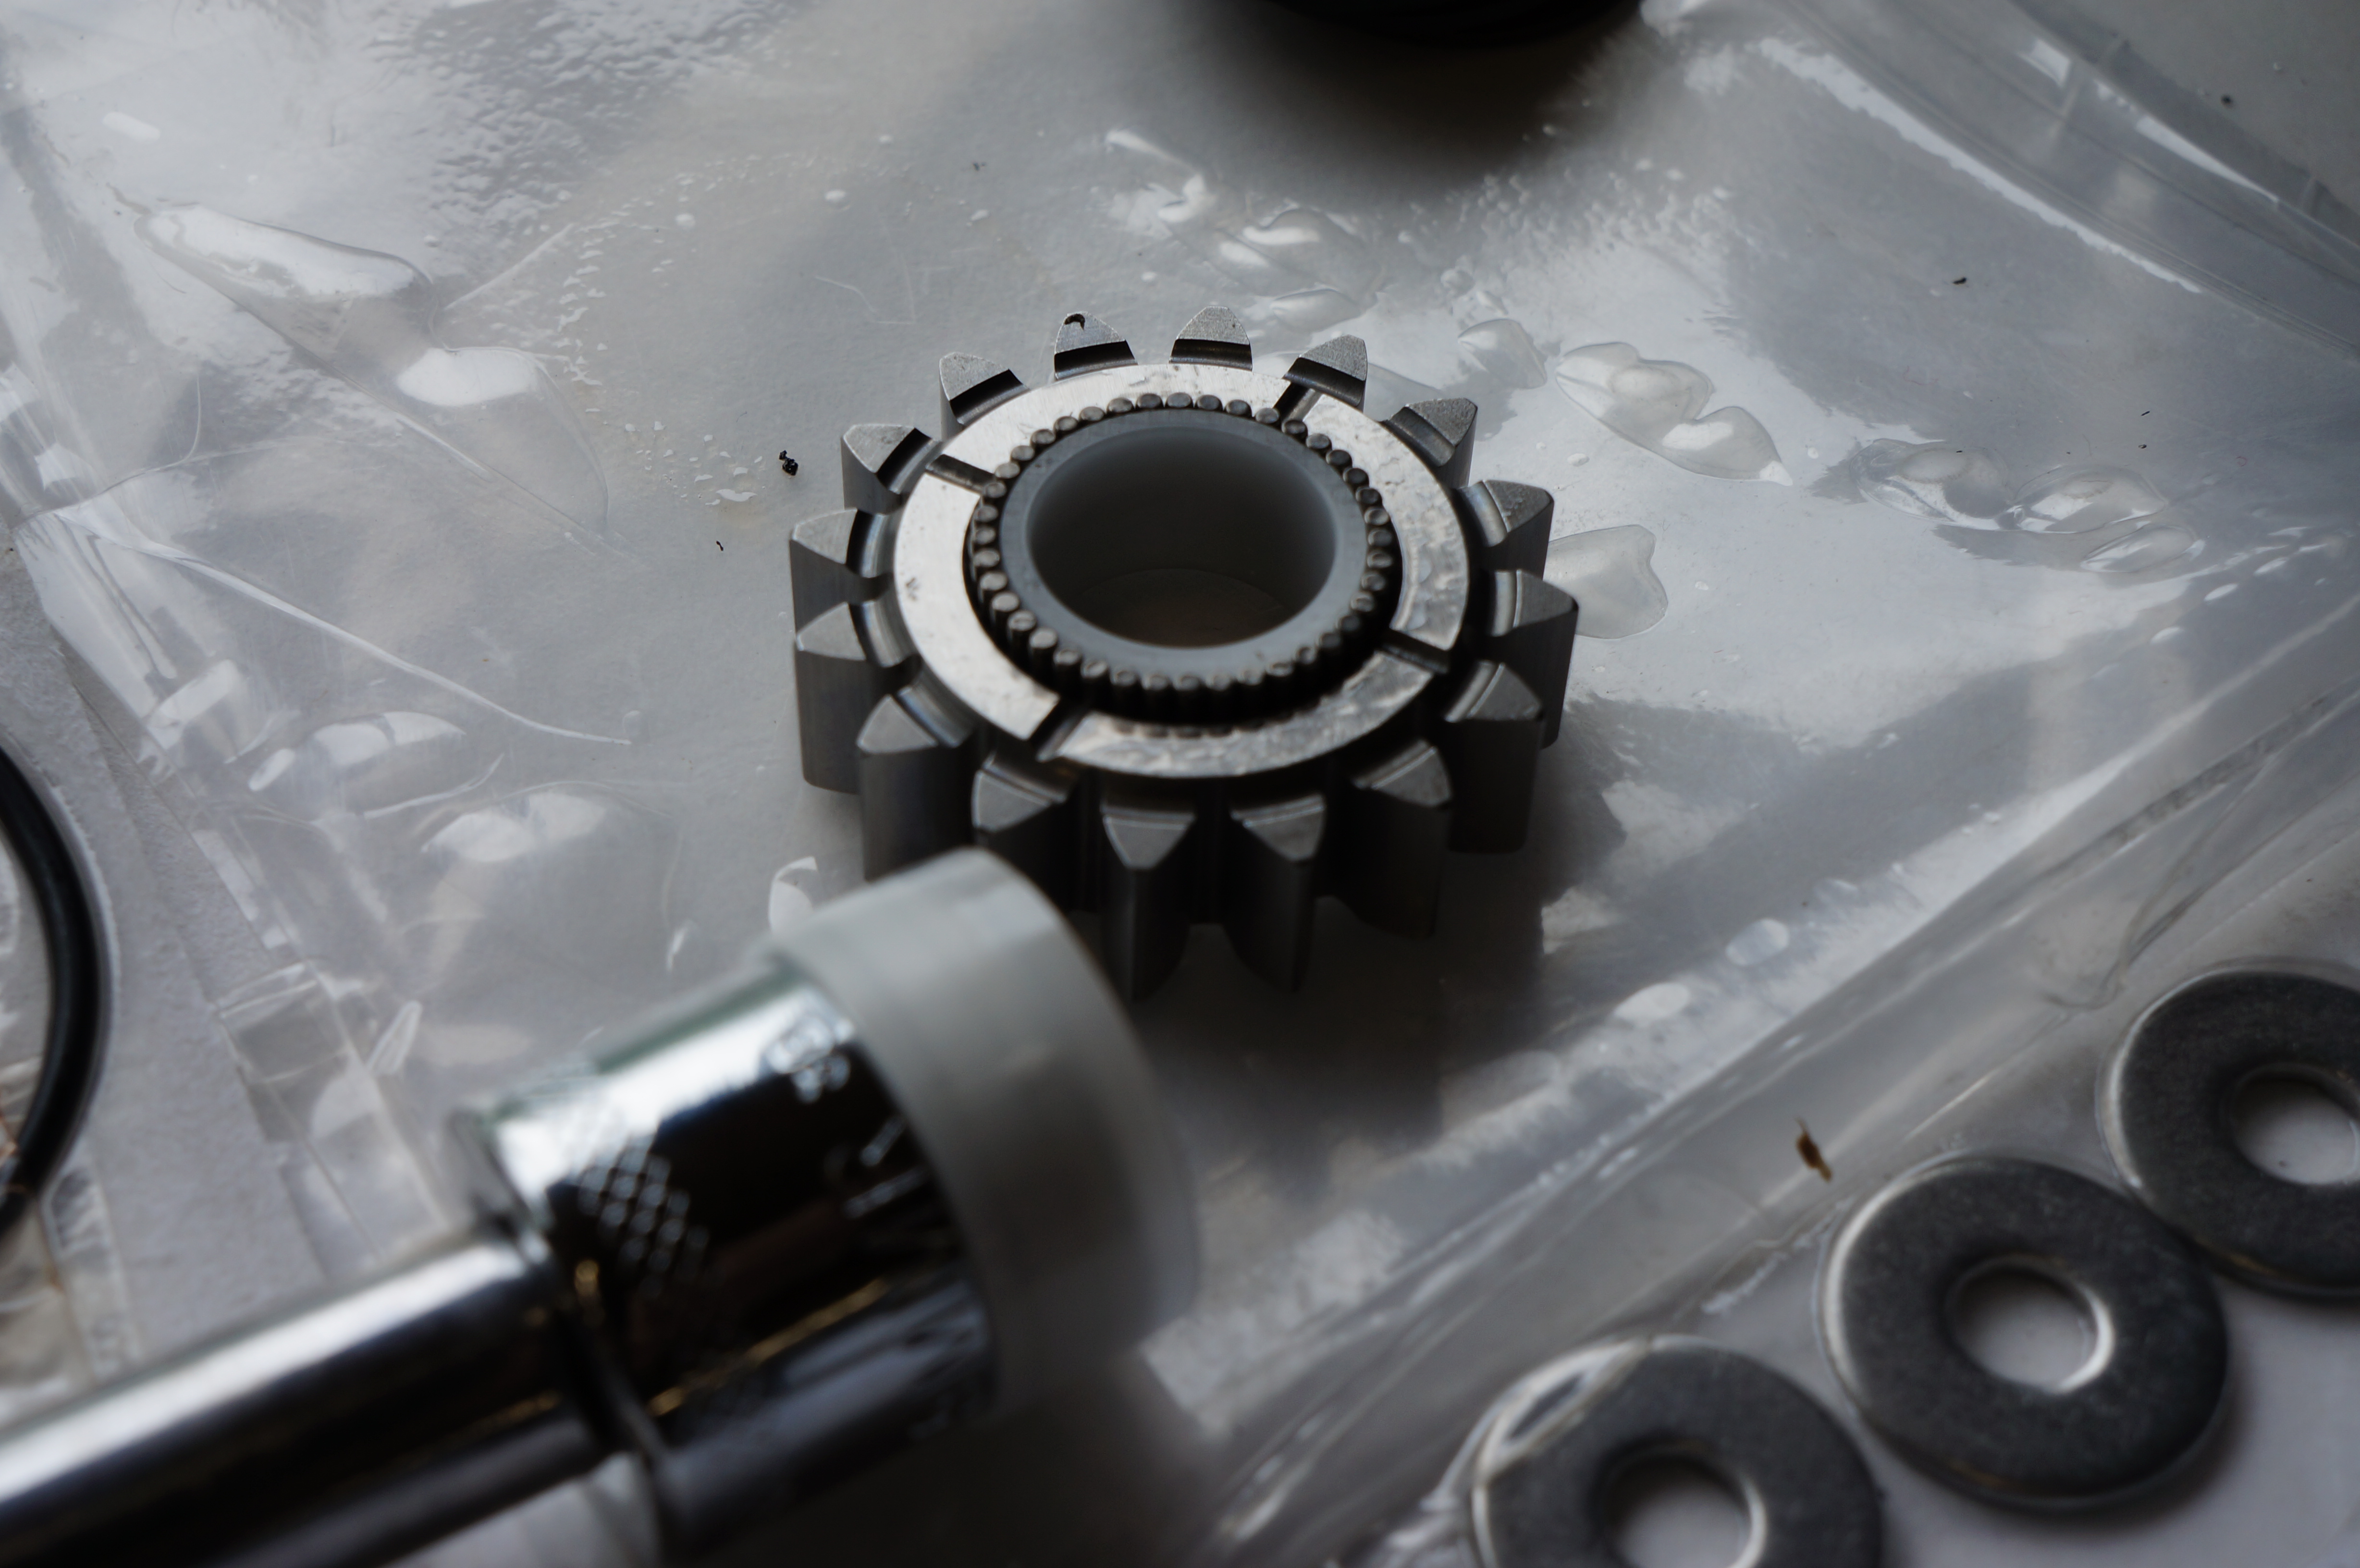
I then very carefully installed the drive gear onto the shaft taking care not to loose and needles rollers

I popped some more oil on the needles rollers and installed the other washer
Reinstall the locking tab and clutch washers in the order shown on the sheet, fit the nut and torque the nut.

Now lock the drive pulley and using the torque wrench set to 8nm and check the torque wrench clicks before the clutch slips
Now set the torque wrench to 14nm and check the clutch slips before the torque wrench clicks. If yes (which it should) then great if not recheck your spring washers.
Reinstall the 2 rubber O rings and refit the charge and enjoy!